Category: Regulations & Building Standards
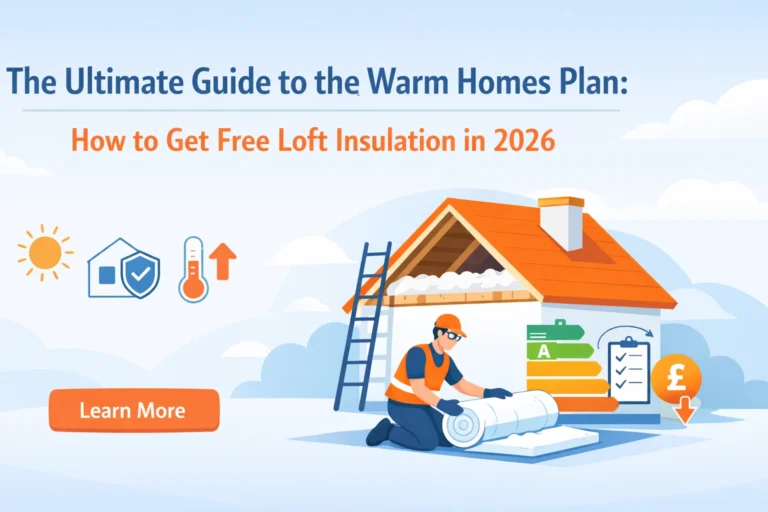
Thinking about upgrading your loft insulation? You’re not alone.
With rising energy costs and stricter building regulations, thousands of UK homeowners are tackling this project in 2026. The good news? It’s simpler than you might think.
This guide walks you through the five essential steps to upgrade your loft insulation and meet current UK standards. No complicated jargon. Just clear, actionable advice.
Let’s get started.
Why Upgrading Your Loft Insulation Matters
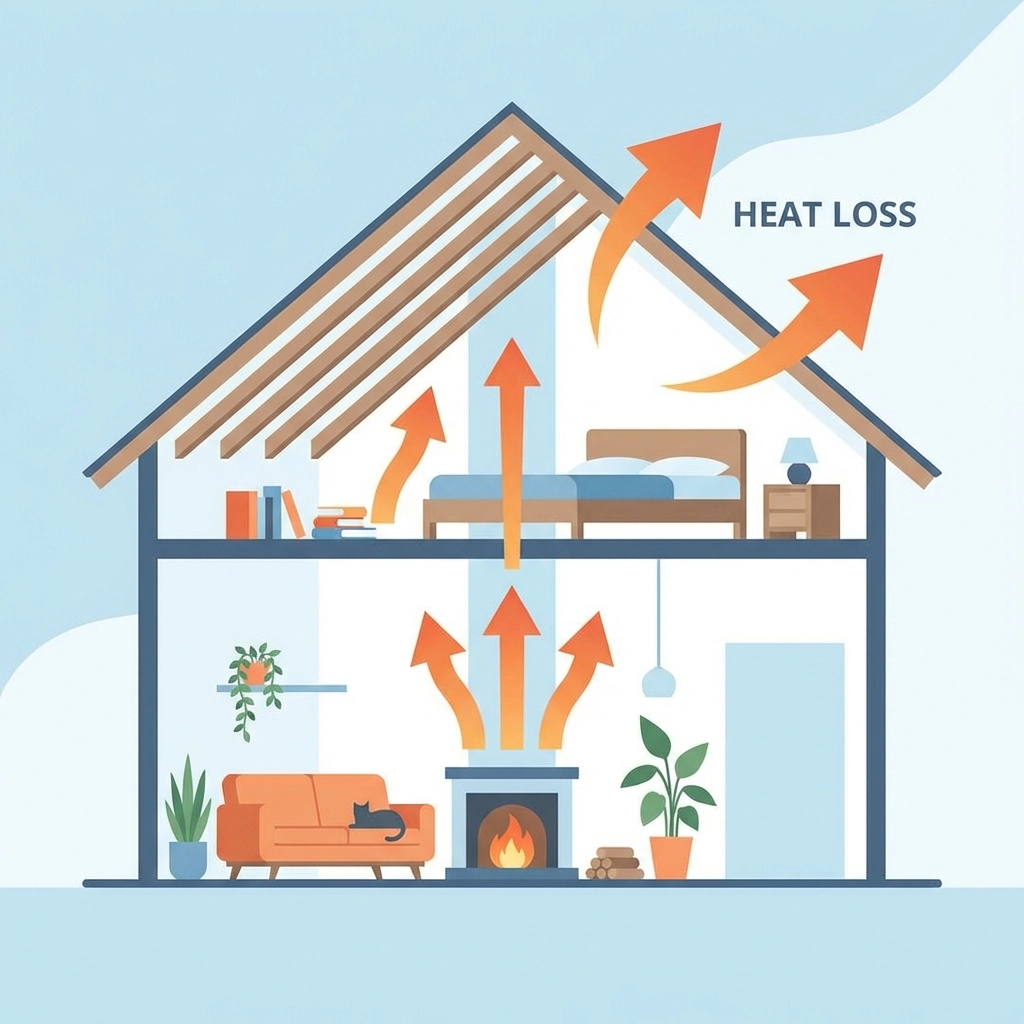
Heat rises. That’s basic physics.
Without proper loft insulation, up to 25% of your home’s heat escapes through the roof. That’s money literally floating away.
Older homes are the biggest culprits. If your property was built before 2003, your insulation probably doesn’t meet modern standards. You might have just 100mm to 200mm up there. Today’s requirement? 270mm minimum.
Upgrading your insulation delivers three key benefits:
- Lower energy bills – Less heat loss means your boiler works less
- Improved comfort – Consistent temperatures throughout your home
- Increased property value – Better EPC ratings attract buyers
Ready to bring your loft up to standard? Here’s how.
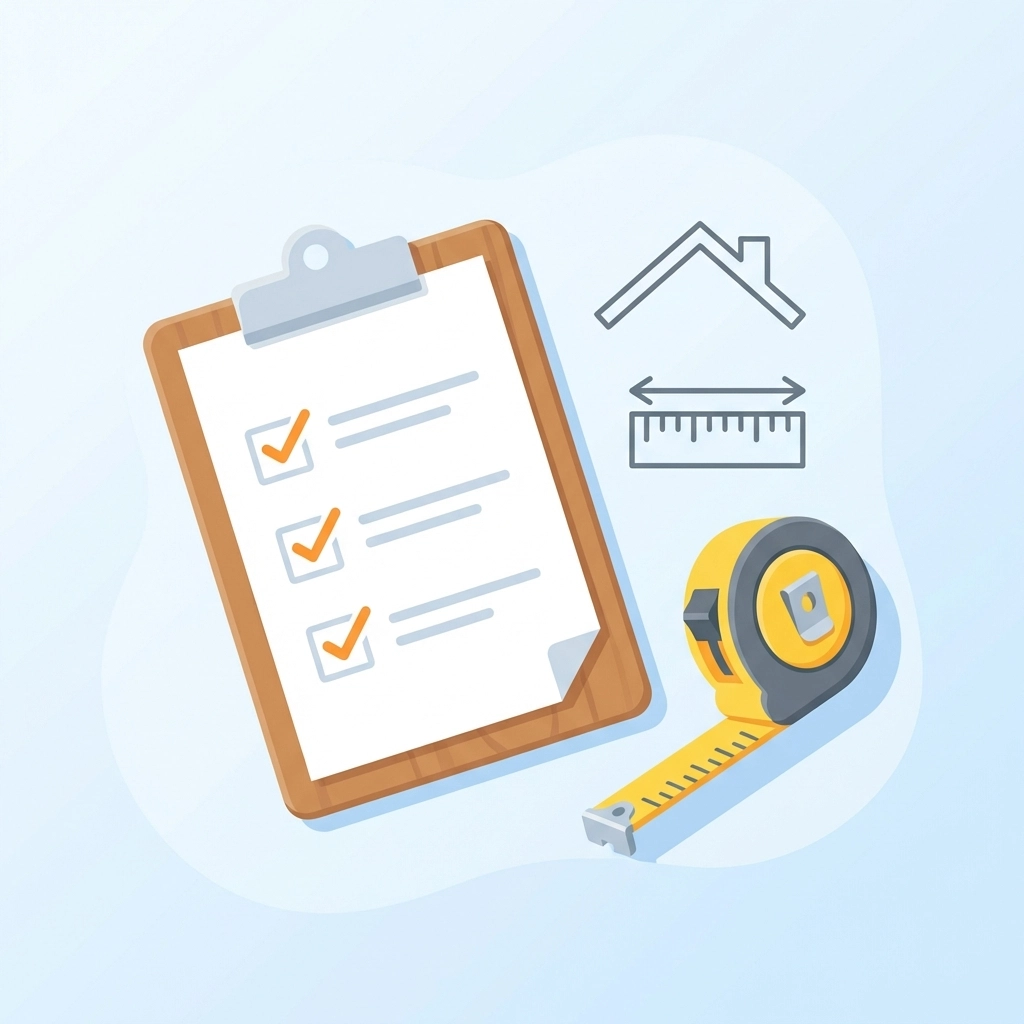
Step 1: Assess Your Existing Insulation
Before buying anything, you need to know what you’re working with.
Grab a torch and head up to your loft. Look for these three things:
Check the Depth
Use a ruler or tape measure. Place it between the joists and measure from the ceiling level to the top of your insulation.
Less than 270mm? You need an upgrade.
Already at 270mm? Check its condition before celebrating.
Inspect the Condition
Old insulation degrades over time. Look for:
- Compression – Squashed insulation loses effectiveness
- Damp patches – Moisture ruins thermal performance
- Gaps or missing sections – Heat escapes through these weak spots
- Pest damage – Rodents love nesting in old insulation
If your existing insulation is damaged, replace it entirely. Topping up compromised material wastes money.
Note the Material Type
Identify what’s already there. Common types include:
- Mineral wool (yellow or brown fibrous rolls)
- Fibreglass (pink or yellow, glass-like fibres)
- Loose-fill (granular material blown between joists)
This helps you choose compatible materials for topping up.
Step 2: Understand UK Insulation Standards
Meeting building regulations isn’t optional. It’s a legal requirement.
Here’s what you need to know.
The Magic Number: U-Value
U-value measures how quickly heat passes through a material. Lower is better.
For retrofit loft insulation in existing homes, the UK requires a U-value of 0.16W/m²K. Building a new home? You’ll need to hit 0.11W/m²K.
Don’t worry about the maths. Just remember this: 270mm of blanket insulation achieves the retrofit standard.
Building Regulations
When upgrading loft insulation, your work must comply with Part L of the Building Regulations. This covers energy efficiency in buildings.
Most straightforward loft insulation upgrades don’t require building control approval. But if you’re converting your loft or making structural changes, you’ll need sign-off.
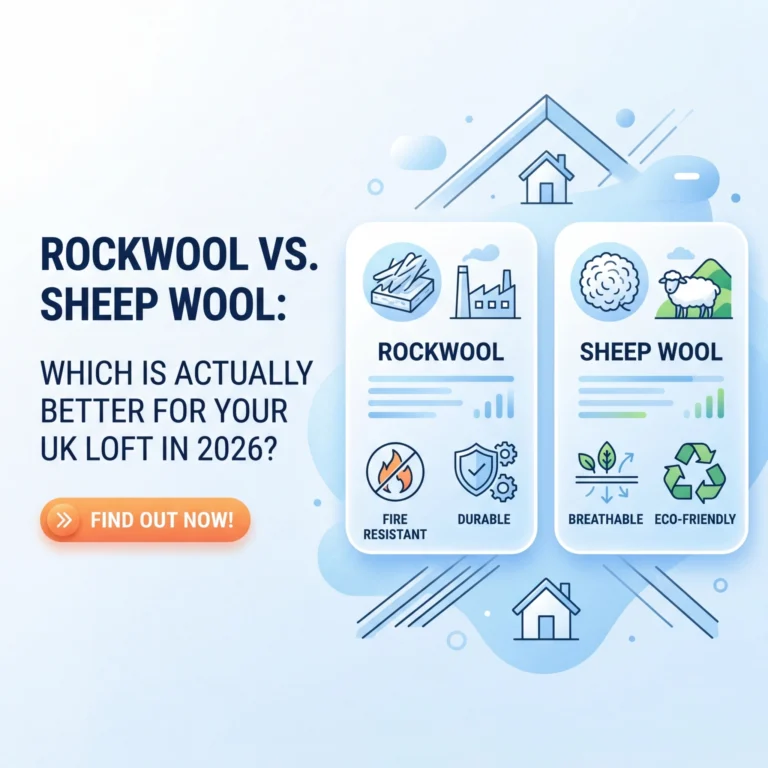
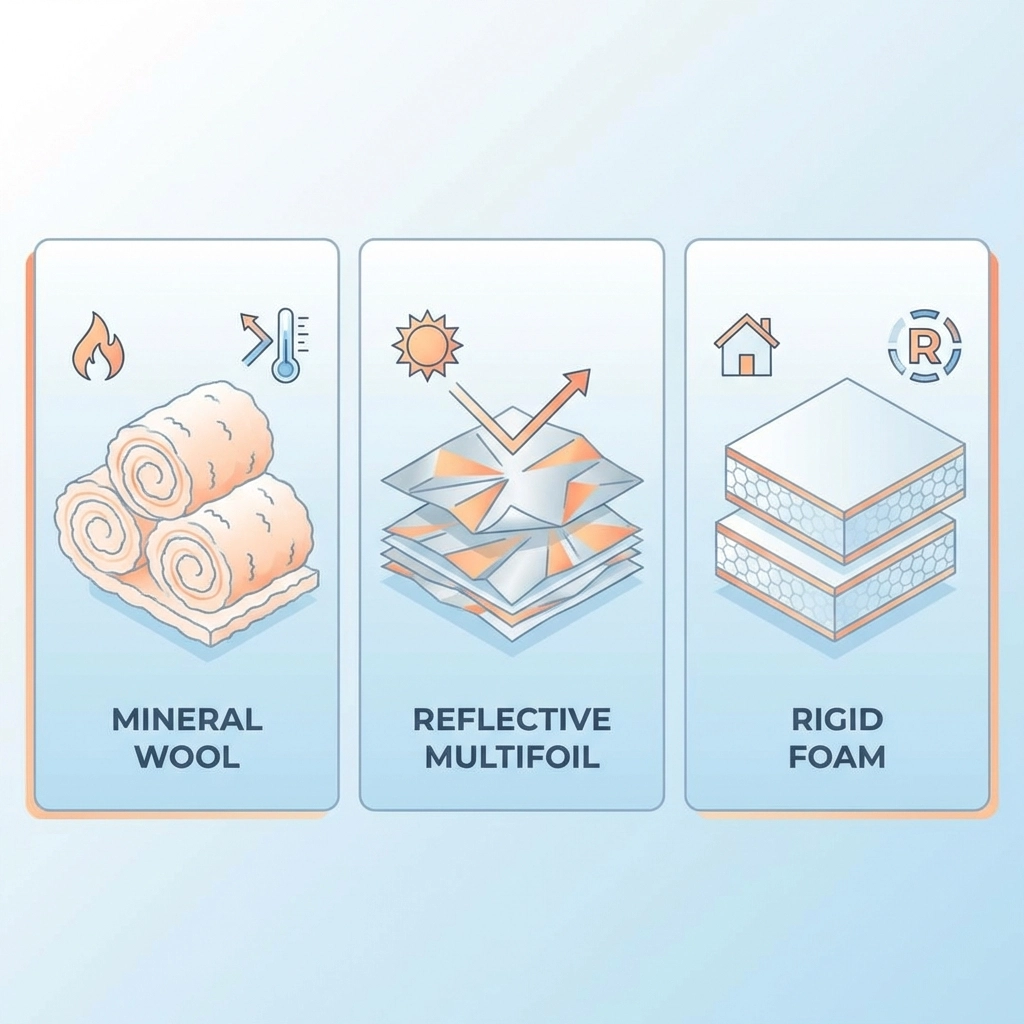
Step 3: Select the Right Insulation Materials
Not all insulation is created equal. Your choice depends on your loft type, budget, and performance needs.
Blanket Insulation (Most Popular)
This is the classic choice. Rolls of mineral wool, fibreglass, or sheep’s wool laid between and over joists.
Pros:
- Affordable (around £930 for a typical 3-bed semi)
- Easy to install yourself
- Widely available
Cons:
- Requires 270mm depth for compliance
- Not ideal for low headroom
Multifoil Insulation
Thin, reflective sheets that work differently from traditional materials. They reflect radiant heat rather than trapping it.
Pros:
- Much thinner profile (great for limited space)
- Lightweight and easy to handle
- Excellent for roof conversions
Cons:
- Higher upfront cost
- Requires careful installation for best results
If headroom is tight, multifoil insulation offers a smart alternative to bulky traditional materials.
Rigid Board Insulation (PIR)
Polyisocyanurate boards offer excellent thermal performance in a slim profile.
Pros:
- Superior insulation per millimetre
- Ideal for converting lofts into living space
- Moisture resistant
Cons:
- More expensive than blanket options
- Requires precise cutting and fitting
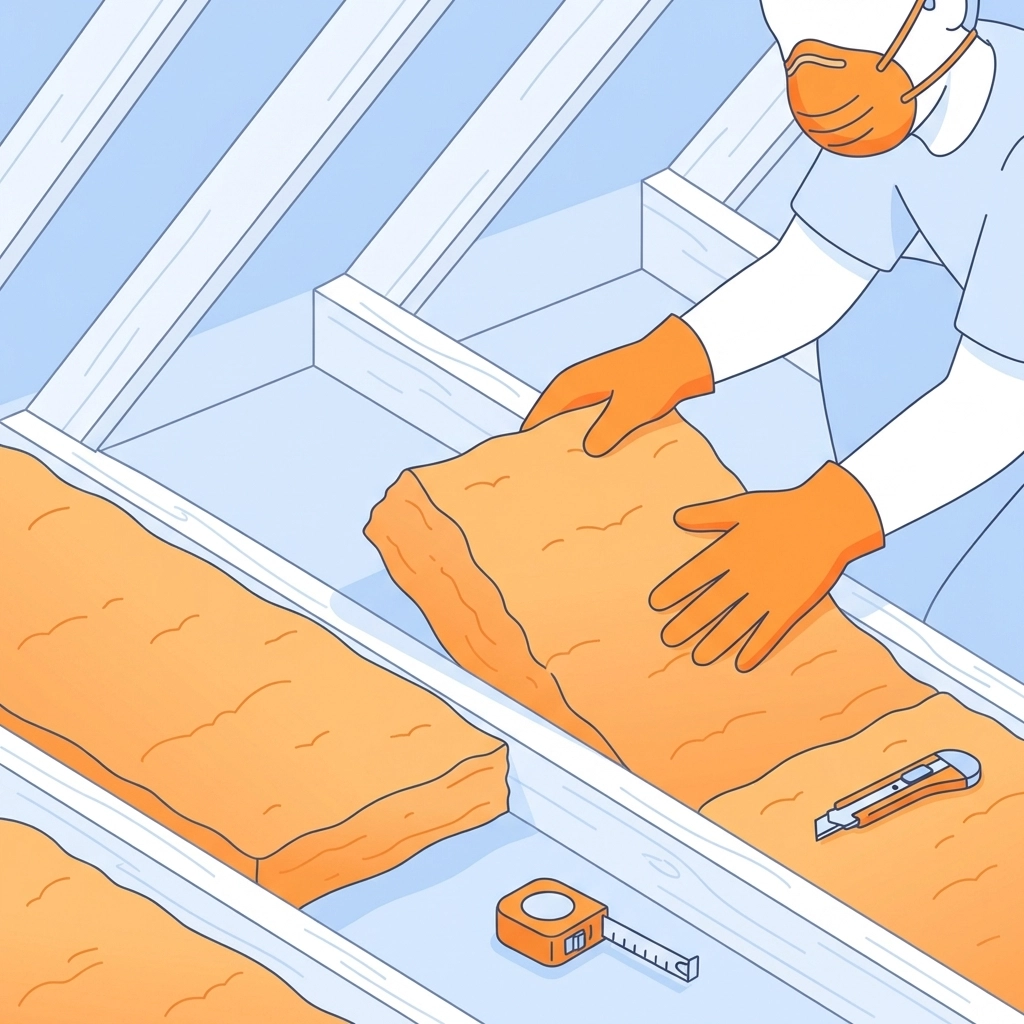
Step 4: Install to the Correct Depth
Getting the depth right is crucial. Too thin and you won’t meet standards. Here’s how to nail it.
Before You Start
Seal gaps first. Any holes around pipes, cables, or hatches let warm air escape. Use expanding foam or sealant to close them.
Clear the space. Remove stored items and ensure you can access all areas safely.
Protect yourself. Wear gloves, a dust mask, and long sleeves. Insulation fibres irritate skin and lungs.
Installing Blanket Insulation
Layer one: Lay insulation between the joists up to joist height (typically 100mm).
Layer two: Roll a second layer across the joists at right angles. This eliminates cold bridges where joists conduct heat.
Target depth: Your combined layers should reach 270mm minimum for retrofit compliance.
Key Installation Tips
- Don’t compress the material. Squashing reduces effectiveness
- Butt edges tightly together. Gaps create heat-loss pathways
- Leave space around eaves. Blocking ventilation causes condensation
- Keep insulation away from downlights. Unless they’re fire-rated, maintain a 100mm gap
For New Builds
Stricter standards apply. Aim for 350mm to 400mm to achieve the required 0.11W/m²K U-value.
Step 5: Document Everything
Paperwork isn’t exciting. But it protects you.
Why Documentation Matters
Proper records prove your insulation meets standards. This matters when:
- Selling your home – Buyers and solicitors request evidence
- Applying for grants – Schemes require proof of compliant installation
- Avoiding penalties – Non-compliance can cause legal headaches
What to Keep
Create a folder (physical or digital) containing:
- Receipts for materials – Showing product specifications and quantities
- Installation photos – Before, during, and after shots
- Product data sheets – Thermal conductivity values and certifications
- Compliance certificates – If a professional installer provided one
Consider Professional Verification
For complete peace of mind, have a certified assessor verify your installation. They’ll confirm:
- Correct depth achieved
- U-value requirements met
- No gaps or thermal bridges
This small investment pays off when selling or refinancing.
How Much Does Loft Insulation Upgrade Cost?
Budget varies based on property size and existing insulation.
Typical costs for a 3-bed semi-detached:
| Material Type | Approximate Cost |
|---|---|
| Mineral wool (DIY) | £300–£400 |
| Mineral wool (Professional) | £800–£1,000 |
| Multifoil insulation | £1,200–£1,800 |
| Spray foam removal + replacement | £2,500+ |
Already have partial insulation? Topping up costs less than starting from scratch.
The payback? Most homeowners recoup their investment within 2–4 years through reduced energy bills.
Common Mistakes to Avoid
Even simple projects go wrong. Watch out for these pitfalls:
- Blocking ventilation – Eaves need airflow to prevent damp
- Compressing insulation – Thick and fluffy beats thin and squashed
- Ignoring the hatch – An uninsulated loft hatch wastes your efforts
- Covering electrical cables – Can cause overheating
- Skipping the vapour barrier – In certain setups, this prevents condensation
When in doubt, consult a professional.
Final Thoughts
Upgrading your loft insulation isn’t complicated. Five steps. That’s all it takes.
Assess what you have. Understand the standards. Choose the right materials. Install to the correct depth. Document everything.
Do it right, and you’ll enjoy lower bills, better comfort, and a home that meets UK regulations.
Need help with your loft insulation project? Get a free quote from our team at ComfySeal. We’ll assess your situation and recommend the best solution for your home.