You've insulated your loft to the recommended 270mm. You've upgraded your windows. You've even sealed the gaps around your doors.
But there's one spot you probably forgot about.
Your loft hatch.
It's small. It's out of sight. And it's quietly draining heat from your home every single day.
The Hidden Weak Spot in Your Home's Thermal Envelope
Most UK homeowners don't give their loft hatch a second thought. It's just a square panel in the ceiling. What harm could it do?
Quite a lot, actually.
An uninsulated or poorly sealed loft hatch can leak between 40-60kWh of energy per year. That might sound small. But here's the catch.
The better insulated the rest of your home is, the bigger problem your loft hatch becomes.
Think of it like a bucket with a hole. If the bucket has lots of holes, one more doesn't make much difference. But if you've plugged all the other holes? That single gap becomes your main source of loss.
Your loft hatch is often that last remaining hole.
Why Your Loft Hatch Matters More Than You Think
A standard loft hatch is typically just a thin piece of MDF or plywood. No insulation. No seal. No draught-proofing.
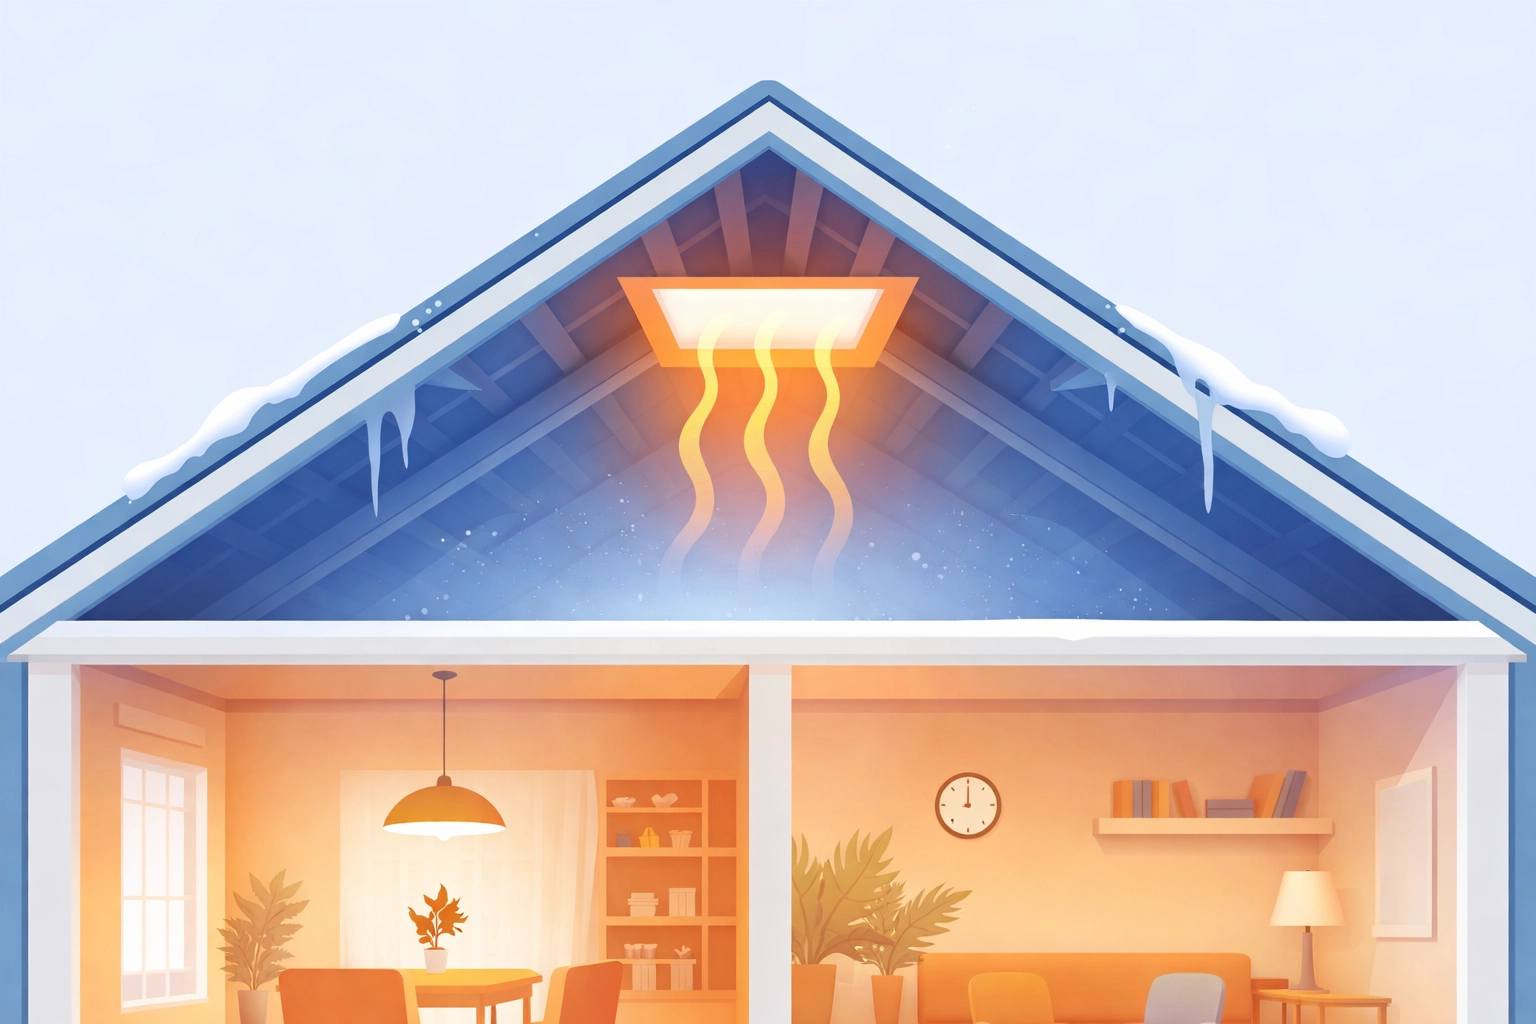
When your heating kicks in, warm air rises. It hits your ceiling. And if your loft hatch isn't properly sealed, that warm air escapes straight into your cold loft space.
The result?
- Cold draughts dropping down into your hallway or landing
- Cold spots directly beneath the hatch
- Your boiler working harder to maintain temperature
- Higher energy bills month after month
A properly insulated and sealed loft hatch can save you £30–£50 per year on heating costs. Not life-changing money. But it adds up over a decade.
More importantly, it makes your home more comfortable. No more mysterious cold patches on the landing.
UK Building Regulations: What's Required in 2026?
Here's something most homeowners don't know.
UK Building Regulations set specific standards for loft hatches. Under Approved Document L (Conservation of Fuel and Power), your loft hatch should achieve a U-value of 0.35 W/m²K or lower.
What does that mean in plain English?
The U-value measures how quickly heat passes through a material. Lower is better. A U-value of 0.35 means very little heat escapes.
Most old loft hatches have a U-value of 2.0 or higher. That's nearly six times worse than the current standard.
If you're having any building work done, selling your home, or applying for grants, your loft hatch may need upgrading to meet these regulations.

5 Signs Your Loft Hatch Is Leaking Money
Not sure if your loft hatch is a problem? Look for these warning signs:
1. Visible Gaps Around the Frame
Hold a candle or lighter near the edges of your loft hatch on a cold day. If the flame flickers, you've got draughts coming through.
2. Cold Air Dropping Down
Stand beneath your loft hatch. Can you feel cooler air? That's heat escaping upward and cold air falling down to replace it.
3. Condensation or Damp Marks
If you notice moisture around your loft hatch frame, warm moist air from your home is meeting cold air from the loft. This can lead to mould growth over time.
4. The Hatch Doesn't Sit Flush
Warped or poorly fitted hatches leave gaps. Even a 5mm gap around the perimeter creates a significant draught path.
5. No Insulation on the Hatch Itself
Open your loft hatch and look at the back. Is there any insulation attached? If it's just bare wood, you're losing heat.
How to Fix a Draughty Loft Hatch
The good news? This is one of the easiest insulation upgrades you can make.
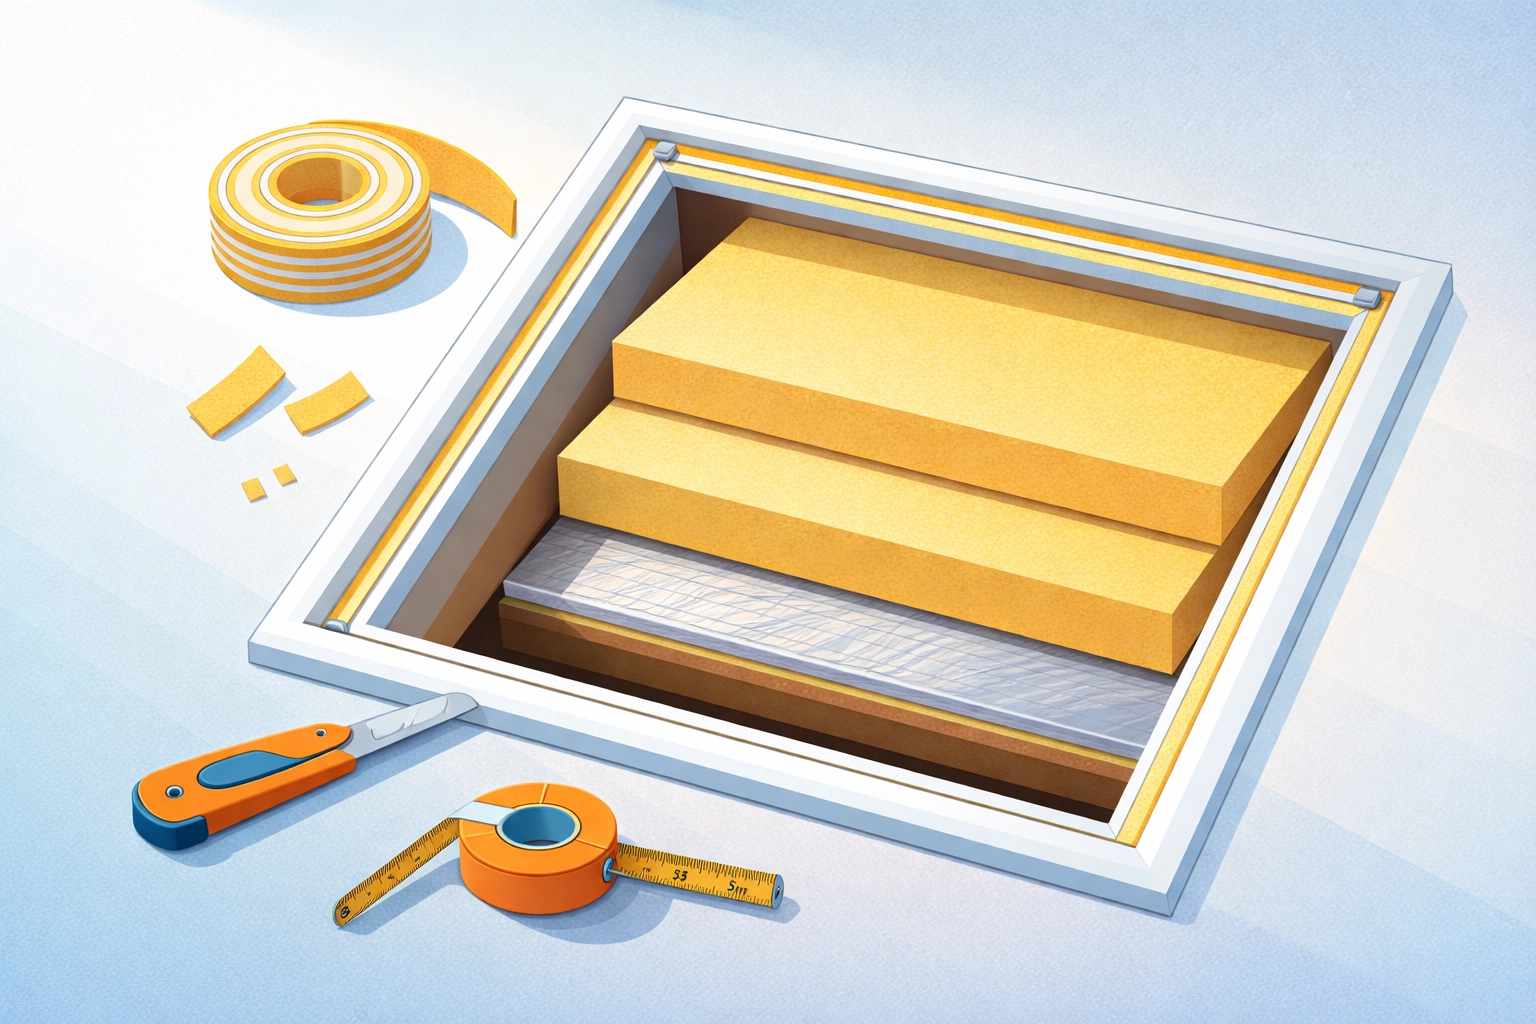
Here's what a proper loft hatch upgrade involves:
Draught-Proofing Strips
Self-adhesive foam or rubber strips fit around the frame. When you close the hatch, they compress to create an airtight seal. Simple. Cheap. Effective.
Insulation on the Hatch Panel
Rigid insulation board (like PIR or phenolic foam) can be glued or screwed to the back of your hatch. Aim for at least 50mm thickness to meet building regulations.
Loft Hatch Covers
Insulated covers sit over your existing hatch from above. They're quick to install and don't require replacing the whole hatch.
Replacement Insulated Hatches
For the best results, consider a purpose-built insulated loft hatch. These come pre-fitted with insulation and integral draught seals. They're designed to meet or exceed the 0.35 U-value requirement.
DIY vs Professional Installation
Can you do this yourself? Absolutely.
Draught strips cost a few pounds. Rigid insulation board is affordable. A Saturday afternoon project could solve the problem.
But there are situations where professional help makes sense:
- Awkward access , Some loft hatches are in tight spaces or high ceilings
- Building regulations compliance , If you need certification for a sale or grant
- Combined with loft insulation , It makes sense to do everything in one go
At ComfySeal, we include loft hatch checks with every insulation job. There's no point insulating 50 square metres of loft if warm air is escaping through an unsealed hatch.
The Bigger Picture: Combining Upgrades for Maximum Savings
A loft hatch upgrade works best as part of a complete insulation strategy.
The UK government recommends 270mm of loft insulation as the standard for 2025 and beyond. If your insulation is below this level, topping it up should be your first priority.
But once your loft floor is properly insulated, that hatch becomes even more important.
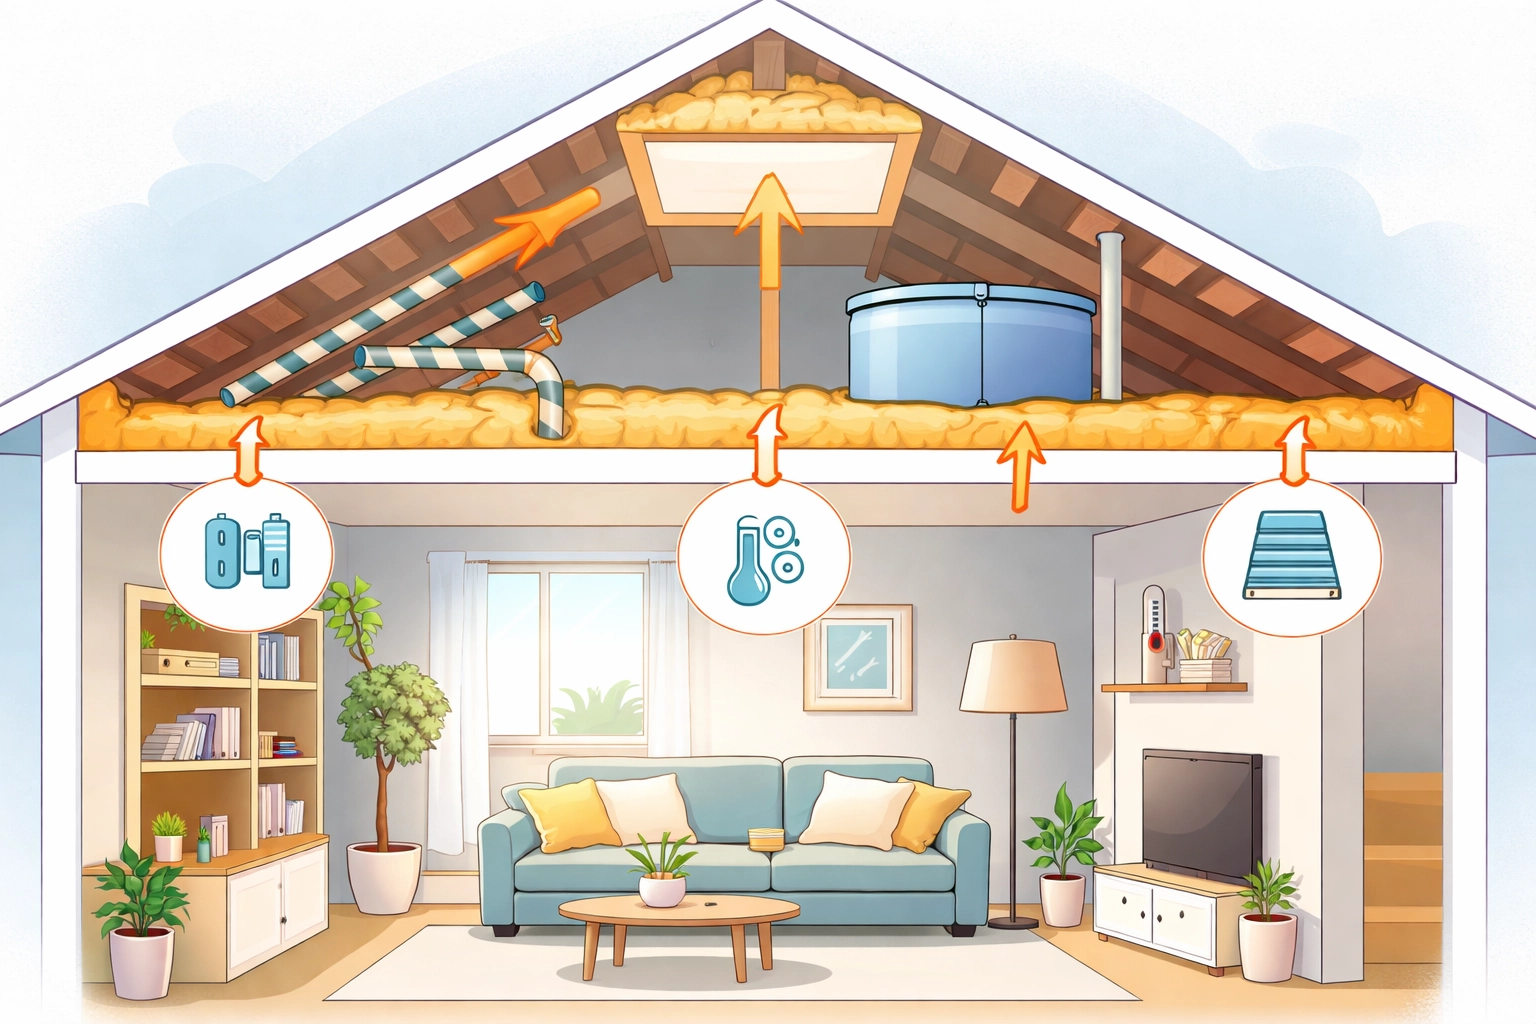
Here's a sensible upgrade order:
- Top up loft insulation to 270mm with mineral wool or multifoil insulation
- Insulate and draught-proof your loft hatch
- Lag any pipes or water tanks in the loft space
- Check ventilation to prevent condensation issues
This approach seals your home's thermal envelope completely. No weak spots. No wasted heat.
What About Grants and Funding?
If you're on certain benefits or meet income criteria, you may qualify for free or subsidised insulation through schemes like ECO4 or GBIS.
These grants often cover loft insulation top-ups. Some schemes also include loft hatch upgrades as part of the package.
It's worth checking your eligibility. A small upgrade that costs nothing could save you money for years to come.
Get a free quote from ComfySeal to find out what you qualify for.
Final Thoughts
Your loft hatch is small. Easy to ignore. But in a well-insulated home, it becomes a significant weak point.
The fix is straightforward. Draught strips. Insulation. Maybe a replacement hatch.
A few hours of work. A modest investment. And your home stays warmer, your bills stay lower, and that mysterious cold spot on the landing finally disappears.
Don't let the smallest gap in your home cause the biggest problems.