Your loft insulation might be perfect. But what about the pipes and water tank sitting up there?
Most homeowners forget about their water systems. They insulate the floor, seal the hatch, and call it done. Then winter arrives. Pipes freeze. Tanks lose heat. Energy bills climb.
In 2026, with energy costs still a major concern for UK households, pipe and water tank insulation is no longer optional. It's essential.
This guide covers everything you need to know. Materials, installation steps, freeze prevention, and maintenance. Let's get your loft working efficiently from top to bottom.
Why Pipe and Water Tank Insulation Matters
Here's a simple truth. Uninsulated water tanks lose 25% to 45% of their heat to the cold loft space around them.
That's energy you've already paid for. Just escaping through the tank walls.
Your boiler works harder to compensate. Your bills go up. Your carbon footprint grows.
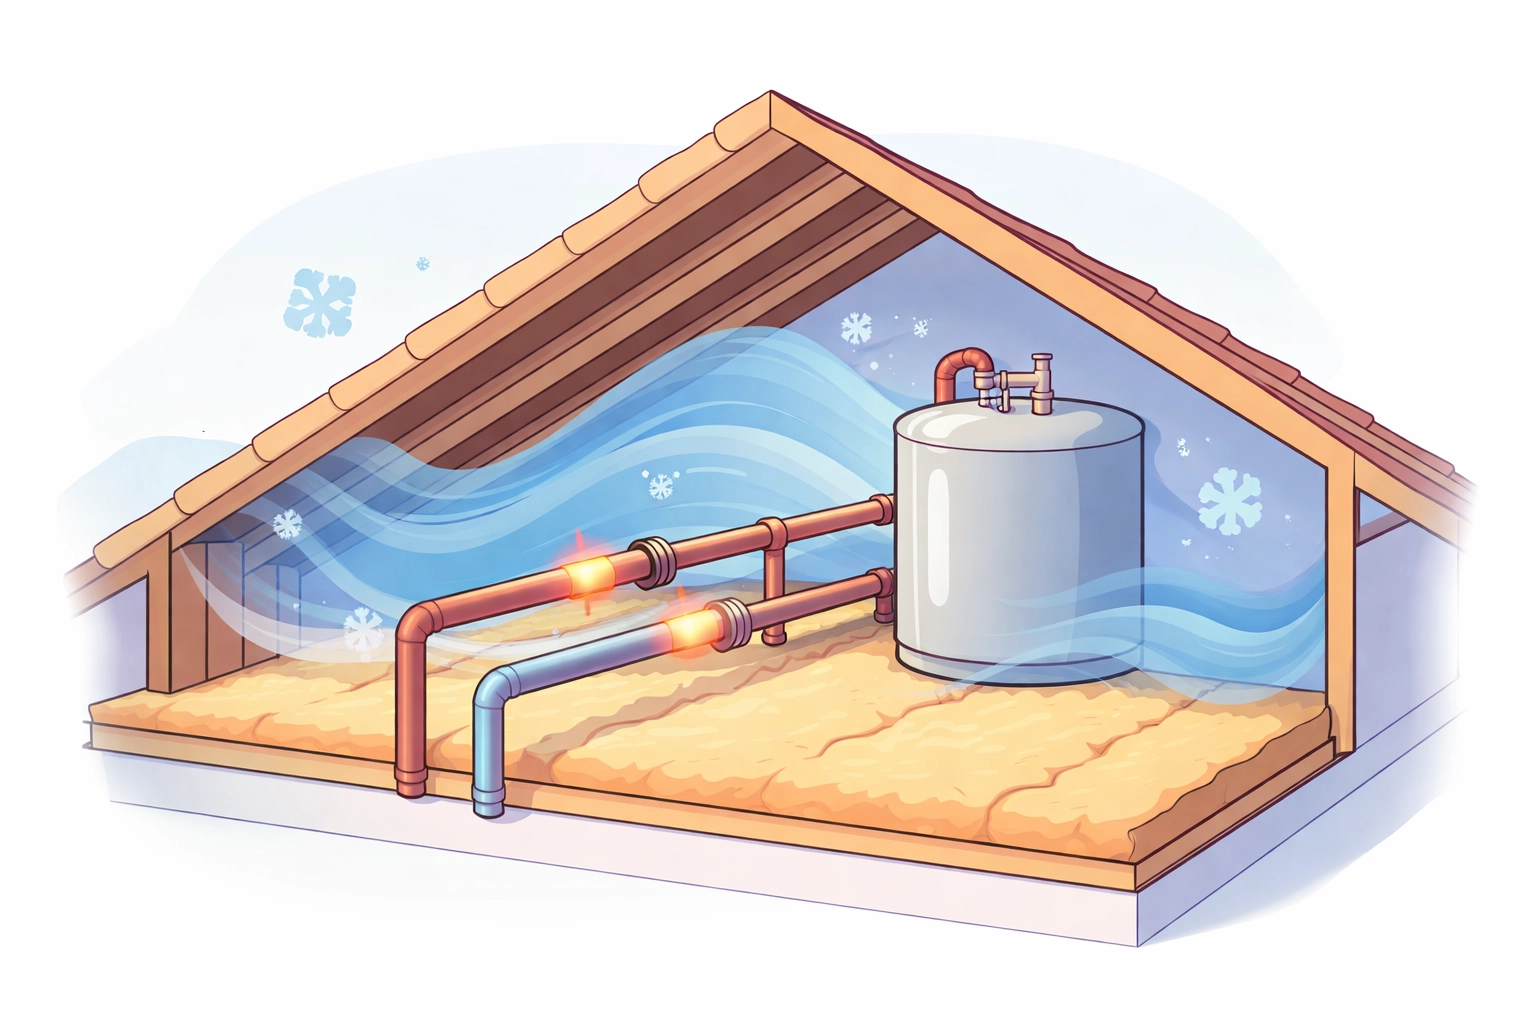
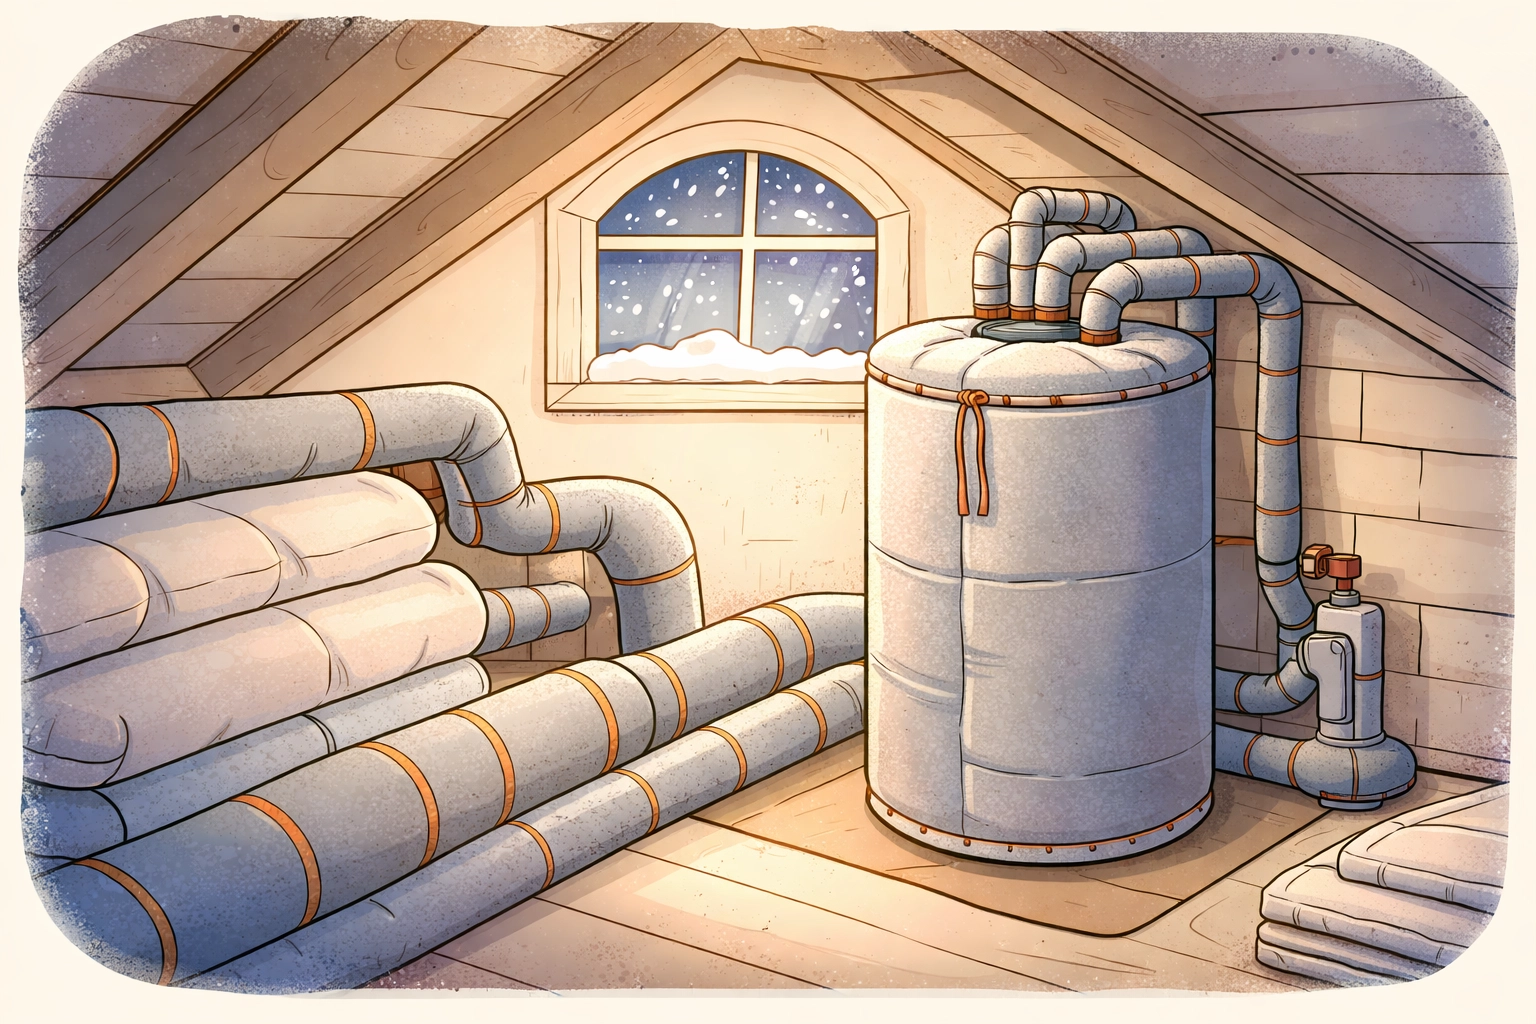
Pipes face a different problem. In a well-insulated loft, the space becomes colder. Your floor insulation keeps warmth in the living areas below. But that means the loft itself can drop below freezing during harsh winters.
Uninsulated pipes in a cold loft? That's a burst pipe waiting to happen.
The Real Cost of Skipping This Step
Let's talk numbers.
Insulating your water tank can save 7% to 16% on water heating costs. For most UK households, that adds up to £50-£100 per year.
The insulation materials? Often under £30.
The payback period? A few months at most.
But the real savings come from avoiding disasters. A burst pipe in your loft can cause thousands of pounds in water damage. Ruined ceilings. Damaged belongings. Insurance headaches.
Spending an afternoon insulating your pipes and tank is one of the smartest investments you can make.
Choosing the Right Insulation Materials
Not all insulation works the same way. Here's what you need to know for 2026.
For Water Tanks
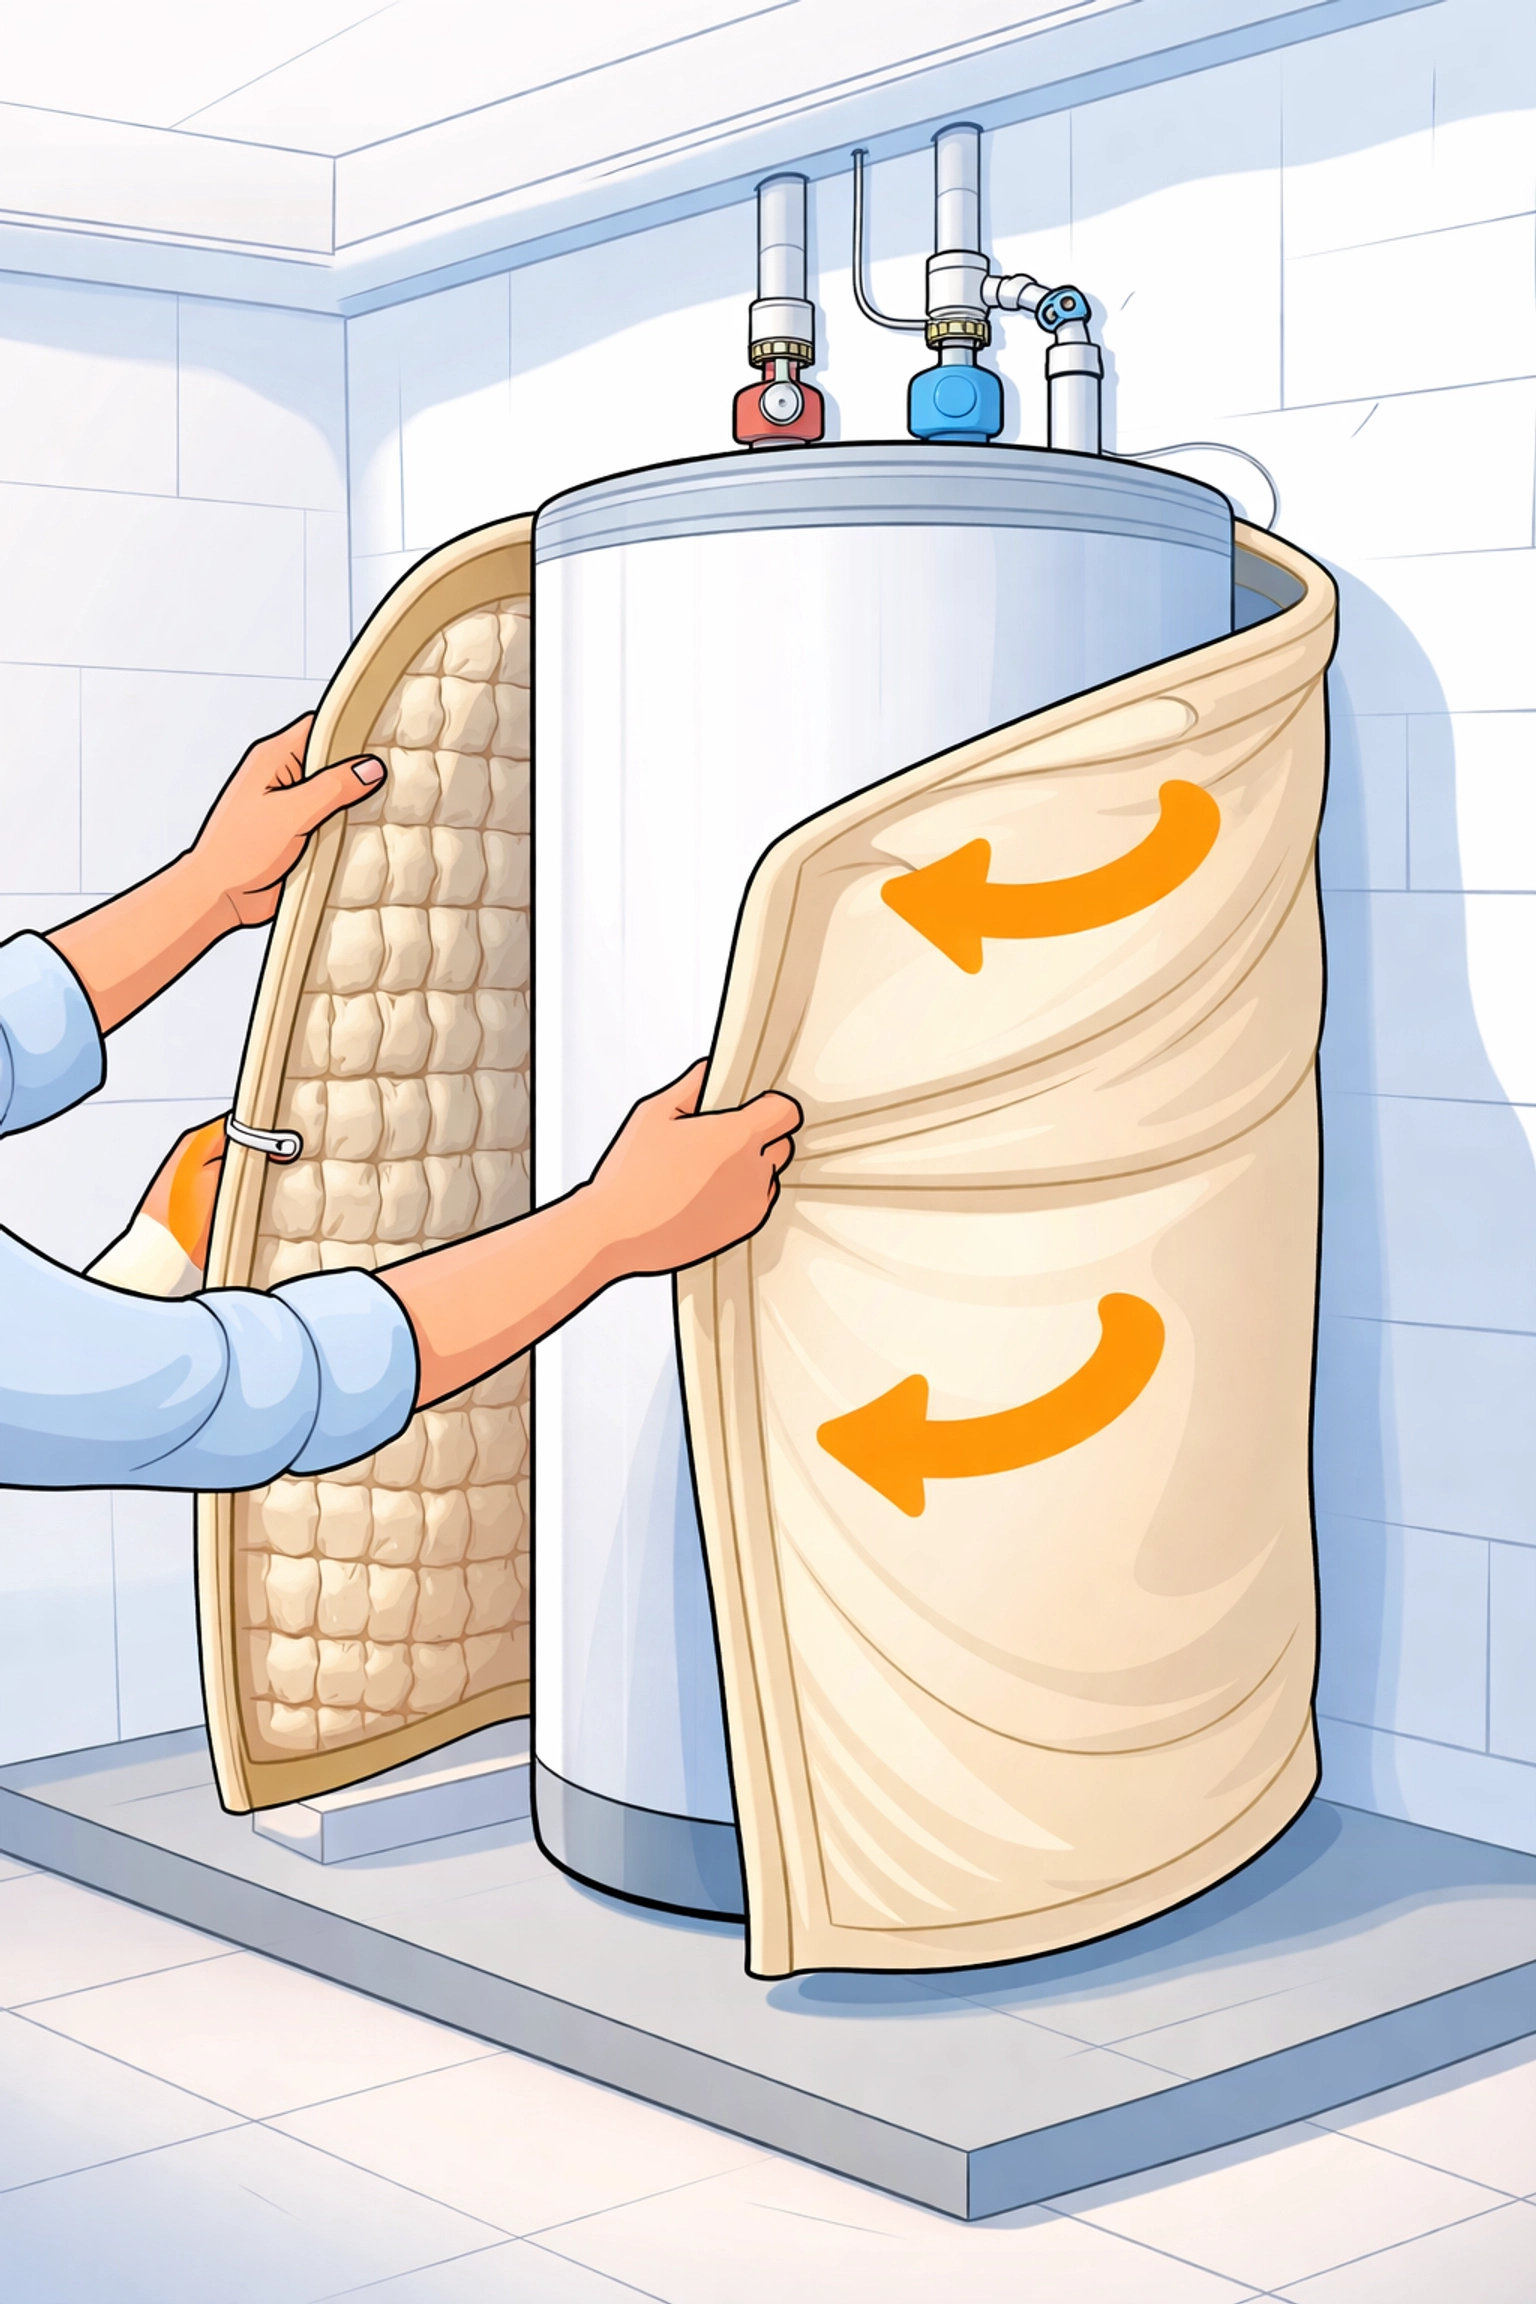
Insulation jackets are the most common choice. They wrap around your tank like a fitted blanket.
The best options include:
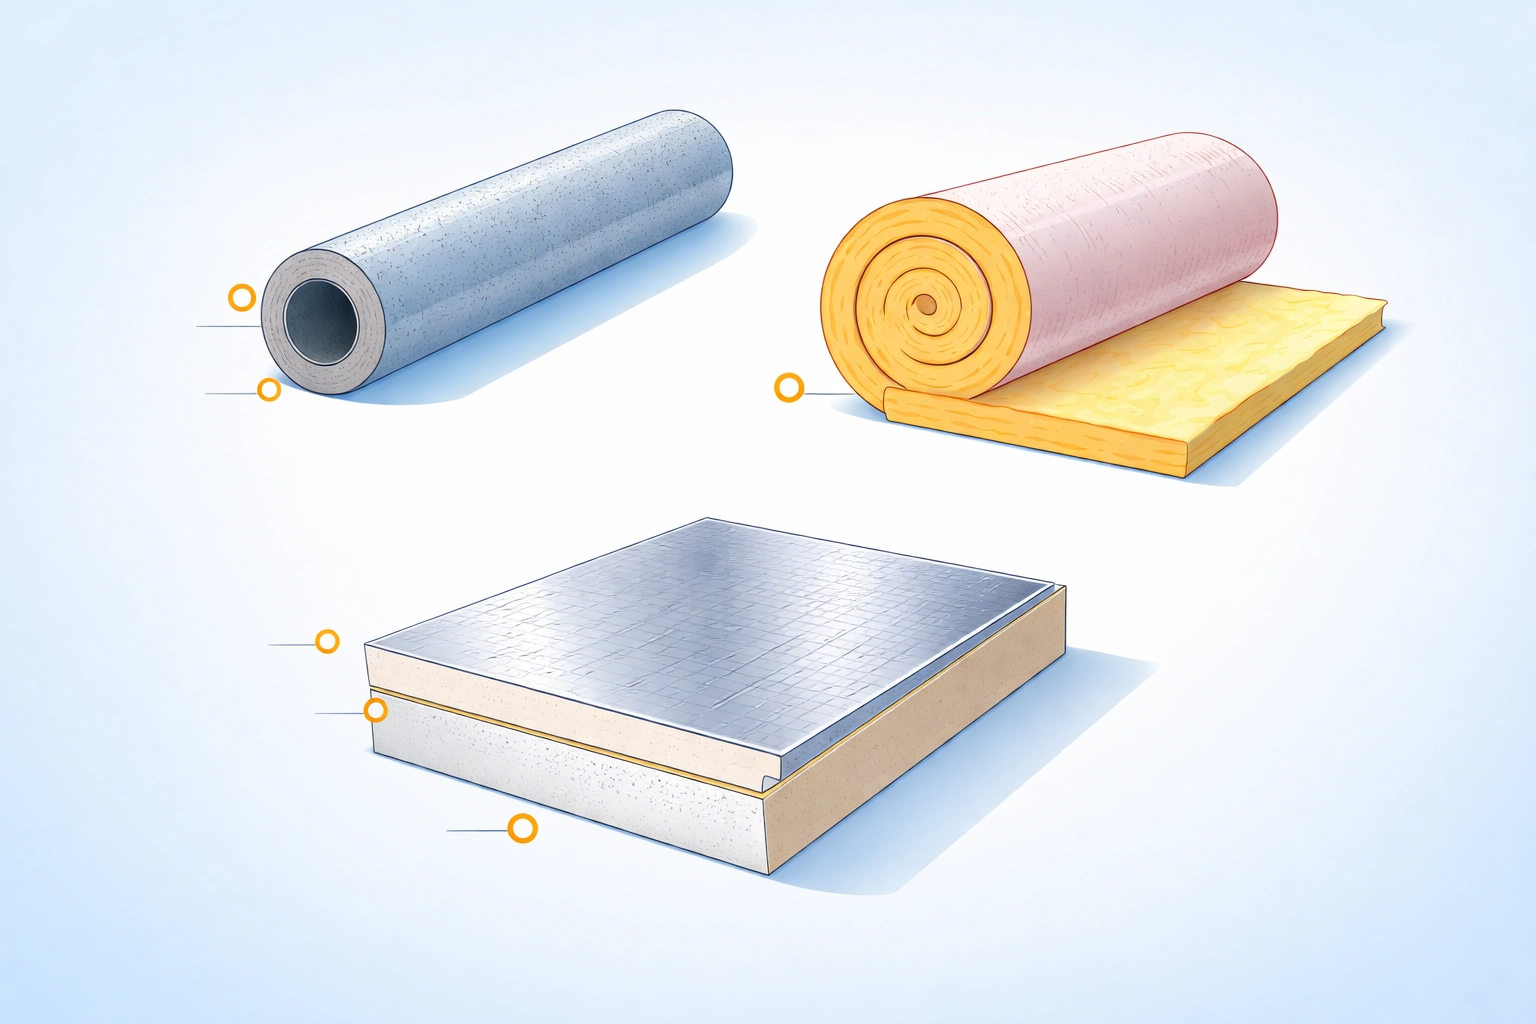
- Fiberglass blankets – R-values of R-7 to R-13. Excellent heat retention. Requires protective gear during installation.
- Foil-faced foam – Easier to install. Combines reflective properties with insulating air pockets.
- Closed-cell polystyrene foam – Lightweight, moisture-resistant, and highly effective for tanks in cold spaces.
For most loft water tanks, a British Standard jacket (BS 5765) with at least 80mm thickness does the job well.
For Pipes
Foam pipe lagging is the standard choice. It comes in tubes that slip over your pipes.
Look for:
- Closed-cell foam tubes – Water-resistant and durable
- Minimum 19mm thickness – Thicker is better for pipes in very cold spaces
- Pre-slit designs – Makes installation much easier
For pipes near the eaves or in particularly exposed areas, consider 25mm or thicker lagging.
How to Insulate Your Water Tank: Step by Step
Good news. This is a straightforward DIY job.
What You'll Need
- Water tank insulation jacket (correct size for your tank)
- Tape or straps to secure
- Protective gloves and mask (if using fiberglass)
- Scissors or utility knife
Installation Steps
1. Measure your tank first. Note the height, width, and depth. Buy a jacket that matches these dimensions.
2. Clean the tank surface. Remove any dust or debris. The jacket sits better on a clean surface.
3. Wrap the jacket around the tank. Start from one side and work around. Ensure full coverage with no gaps.
4. Secure with tape or straps. The jacket should fit snugly but not compress the insulation material.
5. Don't forget the top. Many jackets include a lid section. If yours doesn't, buy a separate tank top insulator.
6. Leave access points clear. Keep the ballcock, overflow pipe, and any valves accessible for maintenance.
One important rule: never insulate underneath the tank. You want some heat from below to reach the water and prevent freezing.
How to Insulate Your Pipes: The Basics
Pipe insulation is even simpler.
Priority Areas
Focus on these pipes first:
- Cold water feed pipes – These freeze most easily
- Pipes near the eaves – The coldest part of most lofts
- Overflow pipes – Often overlooked but equally vulnerable
- Any exposed horizontal runs – These lose heat fastest
Installation Steps
1. Measure and cut. Measure each pipe run. Cut the foam lagging to length.
2. Open the slit. Most foam tubes come pre-slit along one side.
3. Push onto the pipe. Open the slit, slide the foam over the pipe, and let it close around.
4. Tape the seams. Use insulation tape to seal the slit and secure joints.
5. Cover bends and joints. Use short sections or angled pieces. Don't leave any pipe exposed.
6. Overlap at connections. Where two pieces meet, overlap by at least 25mm.
Winter Freeze Prevention: Extra Steps for 2026
UK winters are unpredictable. Some years mild. Others brutal.
If your loft gets particularly cold, standard insulation might not be enough. Here are additional measures.
For Extreme Cold
- Trace heating cables – Electric cables that run along pipes and provide gentle heat. Thermostatically controlled to activate only when needed.
- Loft heating – A small, frost-protection heater can keep temperatures above freezing during severe cold snaps.
- Increased lagging thickness – Double up on pipe insulation in the most exposed areas.
Smart Practices
- Keep the loft hatch closed – Prevents warm air escaping and cold air entering
- Check insulation before winter – Repair any damaged sections in autumn
- Know your stopcock location – If the worst happens, you need to shut off water quickly
For more advice on keeping your loft properly insulated, check out our guide on why loft insulation is the most cost-effective way to reduce energy bills.
Maintenance: Making Your Insulation Last
Quality insulation can last for years. But only with proper care.
Quarterly Checks
Inspect your pipe and tank insulation every three months. Look for:
- Physical damage – Tears, holes, or sections knocked loose
- Compression – Squashed insulation loses effectiveness
- Moisture – Damp insulation performs poorly and can cause other problems
- Pest damage – Rodents sometimes disturb loft insulation
When to Replace
Replace insulation immediately if you notice:
- Significant water damage
- Large tears or missing sections
- Heavy compression that won't spring back
- Mould or mildew growth
Proper maintenance can extend insulation lifespan by up to 300%. A few minutes of inspection saves hours of repair work later.
The Bigger Picture: Complete Loft Efficiency
Pipe and water tank insulation works best as part of a complete loft insulation strategy.
Your priorities should be:
- Floor insulation – The biggest energy saver
- Draught-proofing the hatch – Stops warm air escaping
- Pipe lagging – Prevents freezing and heat loss
- Tank insulation – Reduces water heating costs
- Ventilation checks – Ensures moisture doesn't build up
When all these elements work together, your loft becomes a properly functioning part of your home's thermal envelope.
Need help getting your loft fully insulated? Get a quote from our team for a professional assessment.
Final Thoughts
Pipe and water tank insulation is one of the simplest home improvements you can make. Low cost. High impact. DIY-friendly.
In 2026, with energy prices and environmental concerns both front of mind, there's no reason to leave your water systems unprotected.
Spend a weekend sorting your loft pipes and tank. Your future self: and your wallet( will thank you.)