Winter hits hard. Your roof takes the worst of it.
Ice dams are one of the sneakiest threats to your home. They form silently. They cause damage slowly. And by the time you notice, the problem is serious.
The good news? They're completely preventable.
This guide covers everything you need to know. You'll learn what causes ice dams. You'll understand how proper airflow protects your loft. And you'll discover the steps to keep your home safe all winter long.
What Are Ice Dams?
Ice dams are ridges of ice that form at your roof's edge. They block melting snow from draining properly.
Here's how they happen.
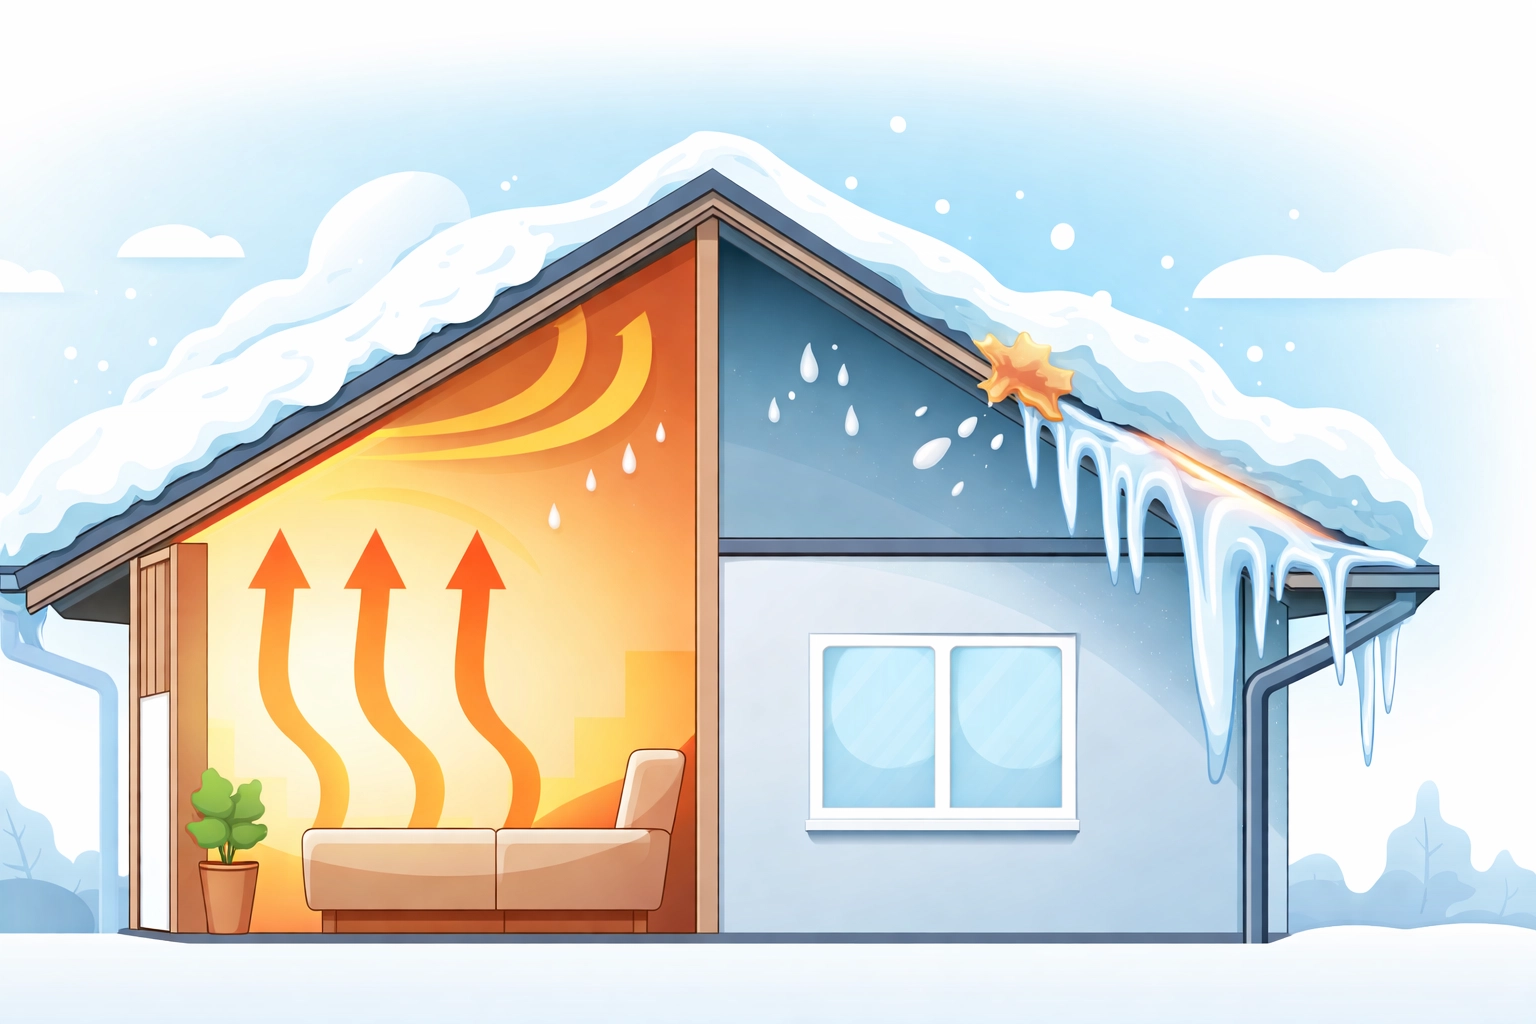
Warm air escapes from your home into the loft. That warmth heats your roof from underneath. Snow on the warmed sections melts.
The melted water runs down toward the eaves. But the eaves stay cold. The water refreezes there, creating a dam.
More water backs up behind the dam. It seeps under your shingles. Then it leaks into your home.
The result? Damaged ceilings, soaked insulation, and rotting timbers.
Why Your Loft Is the Key
Your loft controls your roof's temperature. Get this wrong, and ice dams become inevitable.
The goal is simple. Keep your entire roof at the same temperature as the outside air.
When your loft stays cold, snow melts evenly. Water drains normally. No dams form.
But when warm air leaks into your loft, problems start. Hot spots develop on your roof. Uneven melting begins. Ice dams follow.
Three factors determine your loft's performance:
- Air sealing : stopping warm air from escaping
- Insulation : keeping heat where it belongs
- Ventilation : maintaining proper airflow
Get all three right, and winter becomes manageable.
Air Sealing: Your First Line of Defence
Warm, moist air is the enemy. It rises from your living space and sneaks into your loft.
Every gap matters. Every crack counts.
Priority Areas to Seal
Focus on these common trouble spots:
- Loft hatch : Often the biggest culprit. Add weatherstripping or a foam board cap.
- Recessed lights : These punch holes straight into your loft. Use airtight covers.
- Pipes and cables : Seal around every penetration with fire-rated caulk.
- Duct joints : HVAC connections leak constantly. Use mastic and foil tape.
- Top plates : Where walls meet the loft floor. Often overlooked, always leaky.
How to Spot Air Leaks
Look for black dirt streaks on your insulation. That's dust carried by escaping air.
On a cold day, check for frost patterns in your loft. Warm spots will be frost-free.
You can also shine a torch from below at night. Any light visible in the loft reveals a gap.
Seal these gaps before adding insulation. Otherwise, warm air will find its way through.

Insulation: Keeping Heat Where It Belongs
Proper insulation does two jobs. It keeps your home warm. And it keeps your loft cold.
Sounds contradictory, but it's exactly what you want.
Heat rises. Without enough insulation, it escapes into your loft. Your heating bill climbs. Your roof warms. Ice dams form.
How Much Insulation Do You Need?
Current UK guidelines recommend 270mm of loft insulation. Many older homes have far less.
Check your loft floor. If you can see the joists, you need more insulation.
The right amount keeps your loft temperature close to outside air. That's the sweet spot for ice dam prevention.
Insulation Placement Matters
Never block your soffit vents. These are the openings at your roof's edge.
Insulation should stop short of the eaves. Install baffles to maintain clearance.
This keeps air flowing freely while maintaining thermal performance.
Want to know what's best for your home? Book a free consultation with our team.
Managing Loft Airflow
Ventilation sounds counterintuitive. You're letting cold air into your loft on purpose.
But it's essential.
Proper airflow keeps temperatures even. It prevents moisture buildup. It stops condensation from damaging your timbers.
The 50/50 Rule
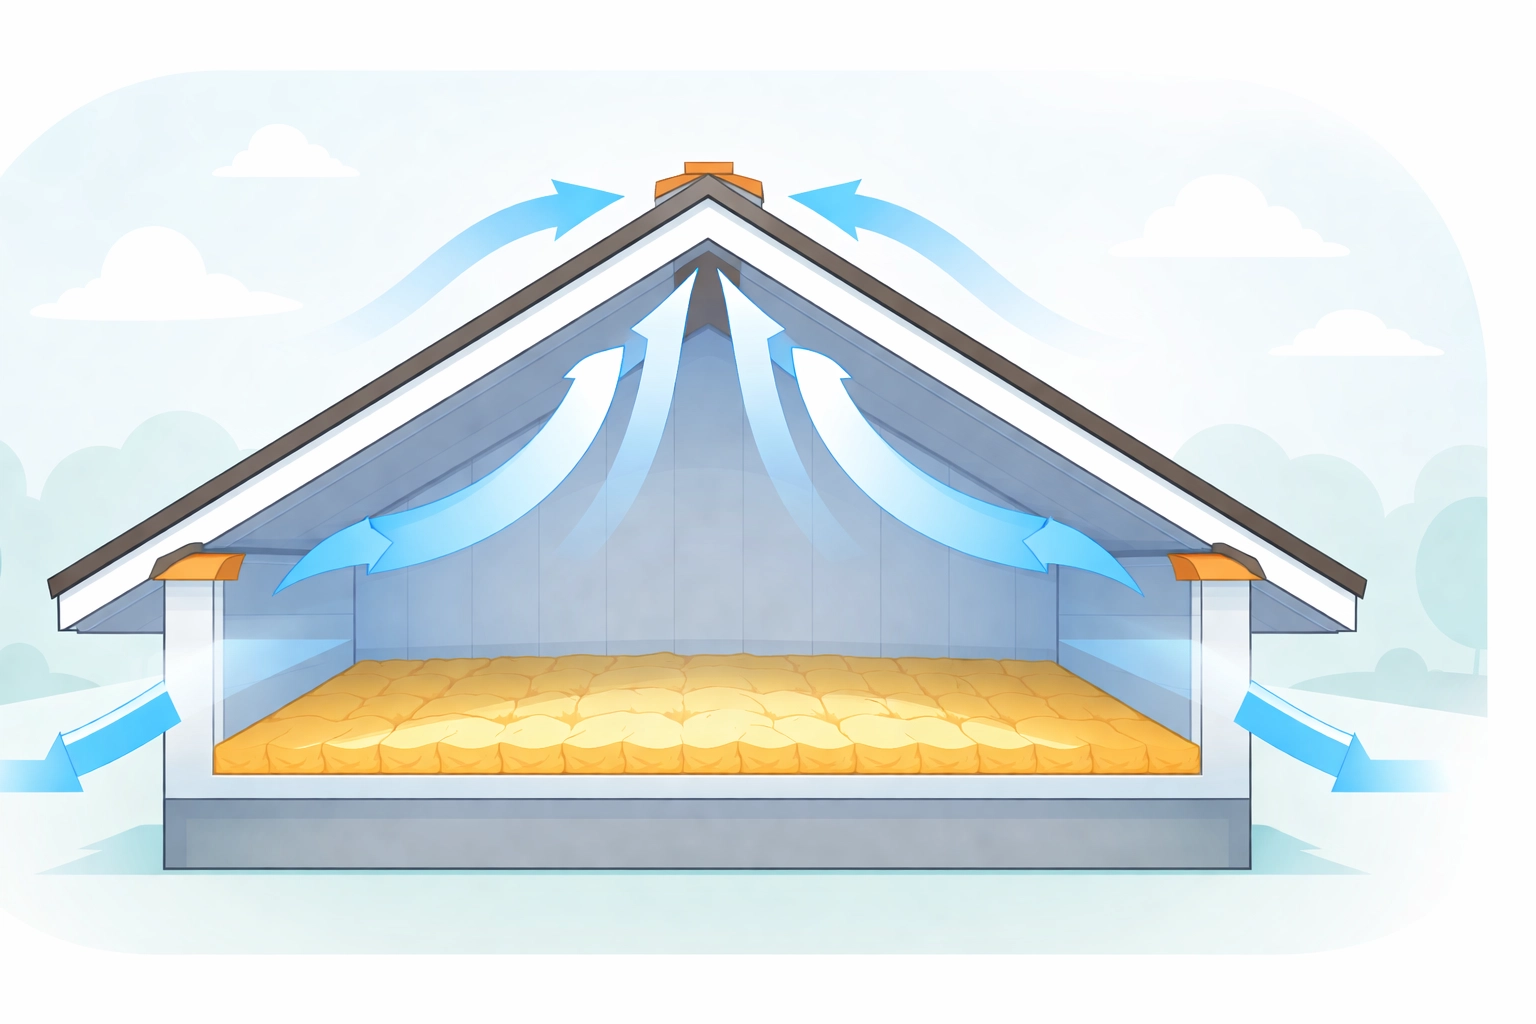
Aim for balanced ventilation. Half at the bottom, half at the top.
Intake vents sit at your soffits. They let cold outside air enter.
Exhaust vents sit at your ridge or near the top. They let warm, moist air escape.
Air flows in at the bottom, up through the loft, and out at the top. Simple and effective.
Common Ventilation Problems
Several issues can block proper airflow:
- Insulation covering soffit vents : The most common mistake
- Debris in gutters and vents : Leaves and dirt accumulate
- Snow blocking ridge vents : Check after heavy snowfall
- Missing or damaged vent covers : They deteriorate over time
Walk around your home. Look at your soffits. Can you see the vent openings clearly?
If not, your loft isn't breathing properly.
Gutter Maintenance for Winter
Your gutters play a supporting role in ice dam prevention.
Clear them before the first frost. Blocked gutters trap water at your roof's edge. That water freezes and contributes to ice buildup.
Pre-Winter Checklist
Complete these tasks before temperatures drop:
- Remove all leaves and debris
- Check downspouts for blockages
- Ensure water flows away from your foundation
- Repair any loose or damaged sections
- Consider installing gutter guards
Clean gutters won't prevent ice dams alone. But they reduce the severity when problems occur.
What If Ice Dams Have Already Formed?
Sometimes prevention comes too late. You notice icicles forming. Water stains appear on your ceiling.
Don't panic. But do act quickly.
Safe Removal Methods
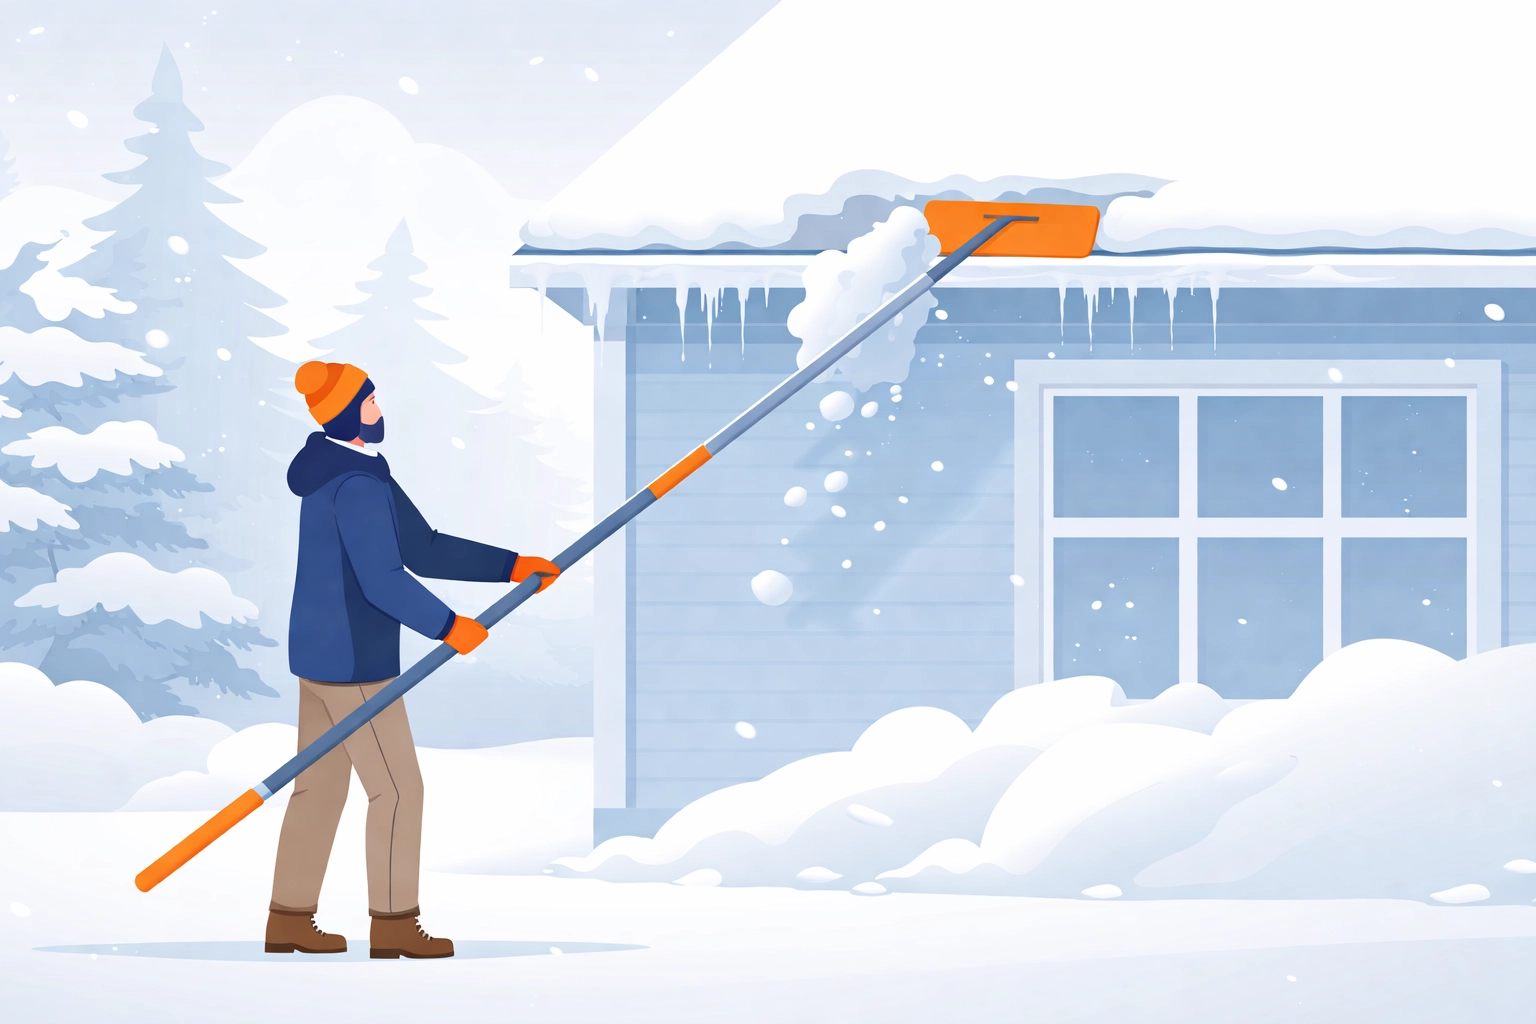
Never climb onto an icy roof. It's extremely dangerous.
From ground level, use a roof rake. These long-handled tools let you pull snow off safely.
Focus on the first few feet from the edge. This removes the fuel for new ice formation.
Creating Drainage Channels
Here's a clever trick. Fill old tights or stockings with calcium chloride ice melt.
Lay them across the ice dam. The salt creates channels for trapped water to escape.
Never use rock salt. It damages roofing materials and kills plants below.
When to Call Professionals
Some situations require expert help:
- Active leaks into your home
- Large ice formations
- Damage to roofing materials
- Structural concerns
Address the immediate problem, then fix the underlying cause. Otherwise, ice dams will return next winter.
The Long-Term Solution
Ice dams are symptoms. Poor loft performance is the disease.
Treating symptoms year after year gets expensive. It's stressful. And it risks serious damage to your home.
The smart approach? Fix your loft properly.
- Seal air leaks thoroughly
- Add adequate insulation
- Ensure proper ventilation
- Maintain your gutters
This combination eliminates ice dams at the source.
It also slashes your heating bills. A well-insulated loft can save hundreds of pounds annually.
Curious about your home's current state? Get a free quote to see what improvements would help most.
Final Thoughts
Ice dams aren't inevitable. They're a sign that your loft needs attention.
The fix is straightforward. Seal air leaks. Add insulation. Maintain airflow.
Your roof stays cold. Snow melts evenly. Water drains away.
No more icicles hanging off your gutters. No more water stains on your ceiling. No more winter stress.
Take action before the next cold snap arrives. Your home will thank you for it.
Ready to winter-proof your loft? Book your free survey today and let ComfySeal help you prepare.