You've done the right thing. Your loft now has a thick layer of insulation keeping your home warm and your energy bills down.
But there's a problem.
All that fluffy mineral wool has swallowed your storage space. Christmas decorations, suitcases, and boxes now have nowhere to go. You're staring at 270mm of insulation and wondering: can I just board over it?
The short answer? Yes. But not the way you might think.
Why 270mm Matters
UK building regulations require loft insulation to achieve a u-value of 0.16 W/m²K. For mineral wool, that means roughly 270mm of depth.
This thickness isn't arbitrary. It's the sweet spot for thermal performance. Go thinner, and you lose heat. Go thicker, and the returns diminish.
The problem is that 270mm is quite a lot of material sitting between your joists. Most standard joists are only 100mm deep. That means your insulation sits well above the timber framework.
So what happens when you try to board directly on top?
The Compression Problem
Here's where many homeowners go wrong.
They lay chipboard or plywood directly onto the insulation. It seems logical. The boards sit flat, and you get instant storage space.
But you've just crushed your insulation.
Compressed insulation loses its thermal performance. The tiny air pockets that trap heat get squeezed out. Your 270mm of protection might now perform like 100mm or less.
You've essentially undone all that good work. Your home gets colder. Your energy bills creep back up. And you might fail an EPC assessment if you ever sell.

Enter Loft Legs: The Smart Solution
Loft legs solve this problem elegantly.
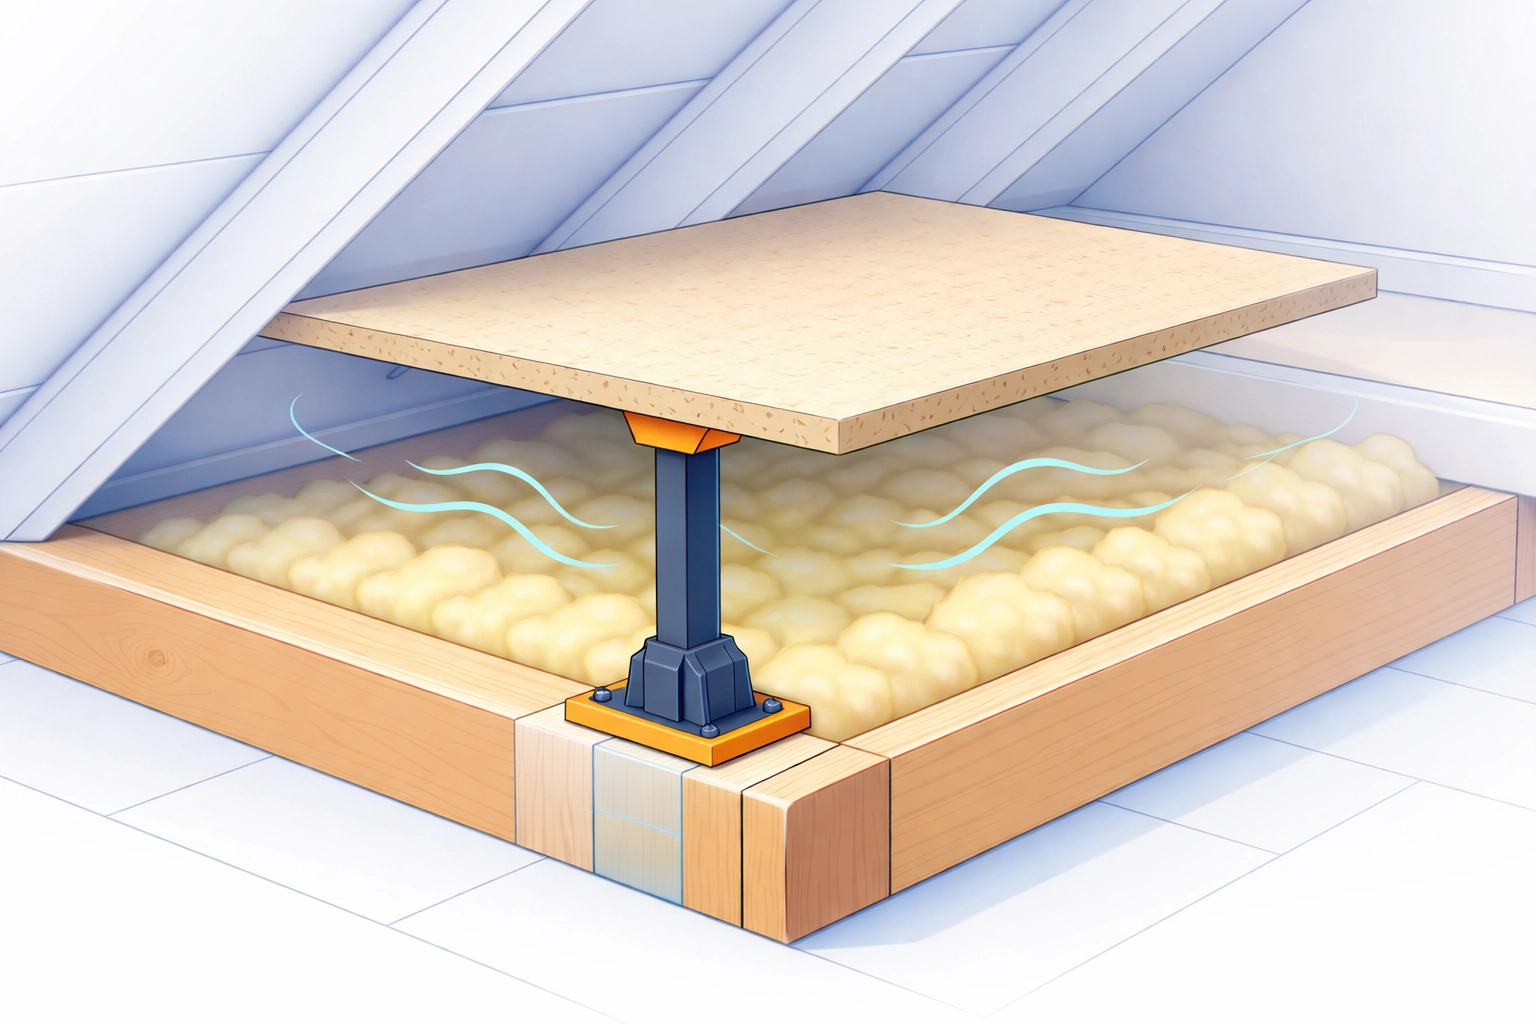
They're raised platforms that sit on your joists and hold boarding above the insulation. No compression. No thermal bridging. Full storage without sacrificing warmth.
Think of them as stilts for your loft floor.
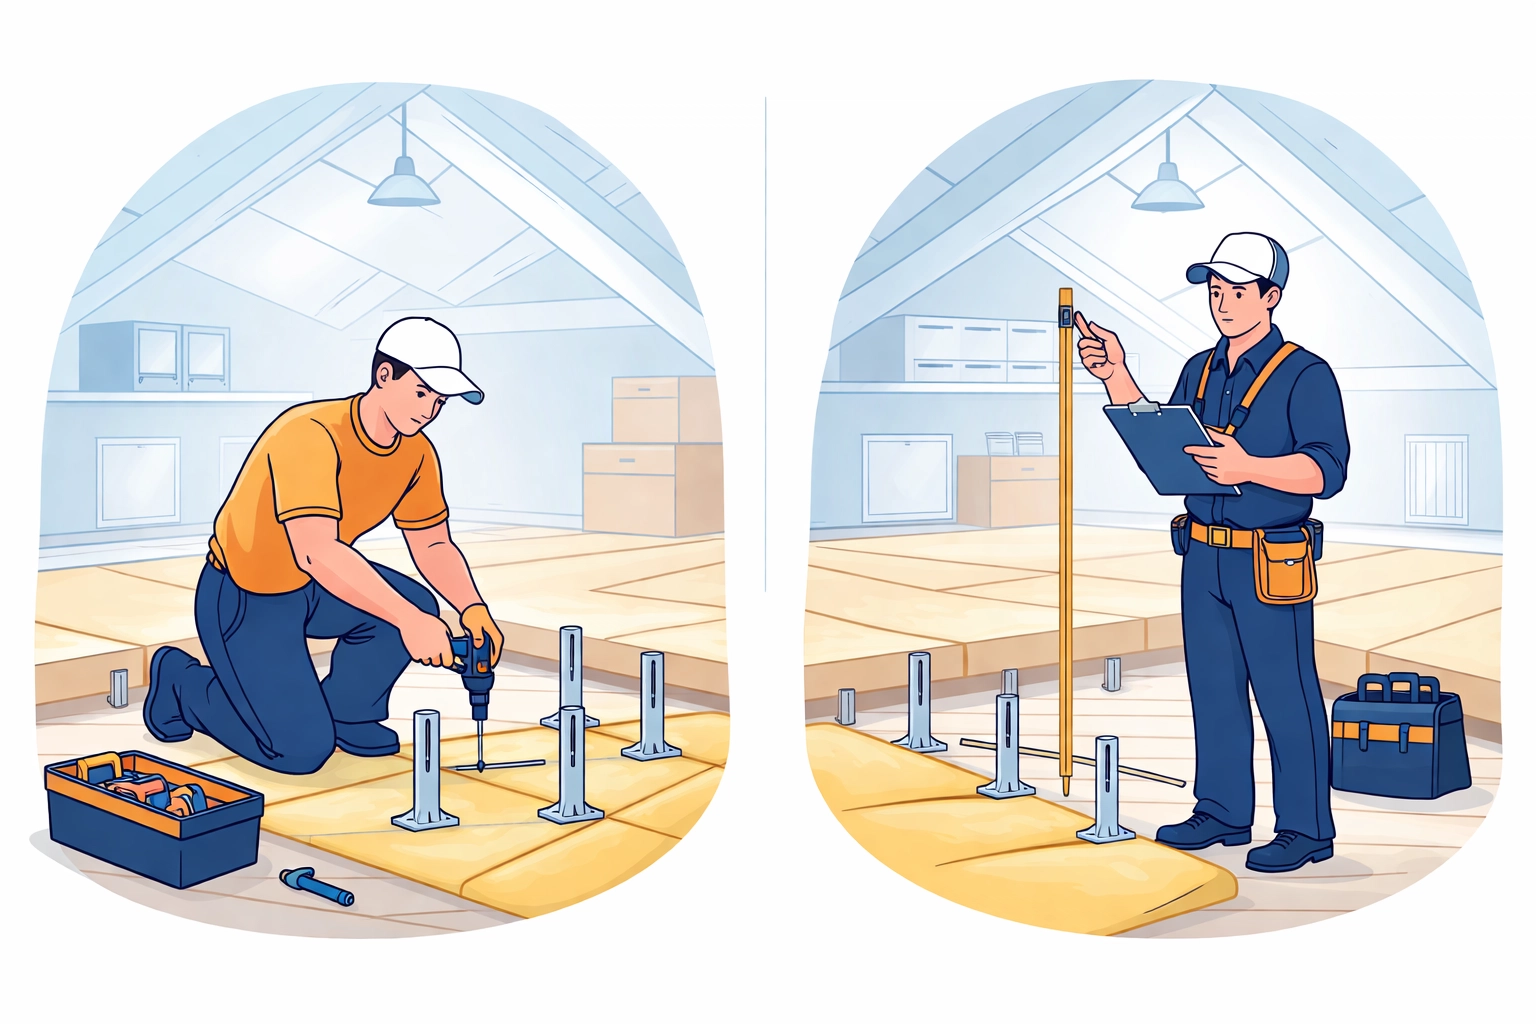
How Loft Legs Work
The design is simple but effective:
- Base plate sits directly on the joist
- Vertical leg raises the boarding height
- Top platform supports chipboard or plywood panels
Standard loft legs come in heights of 175mm to 275mm. This allows your full 270mm of insulation to remain fluffy and undisturbed beneath the raised floor.
Some systems use adjustable legs. Others are fixed height. The key is choosing legs tall enough to clear your insulation depth with a small air gap.
The Technical Benefits
Using loft legs correctly delivers several advantages:
- Maintains u-value – Your insulation stays at full thickness and performance
- Prevents thermal bridging – No direct contact between cold loft air and warm ceiling below
- Allows ventilation – Air circulates under the boards, reducing condensation risk
- Spreads load evenly – Weight distributes across joists, not insulation
- Meets building regulations – You stay compliant with Part L requirements
Choosing the Right Loft Leg System
Not all loft legs are created equal. Here's what to look for.
Height
Match your leg height to your insulation depth. If you have 270mm of mineral wool, choose legs that are at least 275mm tall. This gives a small clearance gap.
Going too short defeats the purpose. Your boards will still compress the top layer.
Load Capacity
Check the weight rating. Most loft legs support 25-50kg per leg when properly installed on joists.
For light storage like decorations and luggage, standard legs work fine. For heavier items, consider reinforced systems or closer leg spacing.
Material
Quality loft legs are made from:
- High-density plastic – Lightweight, won't rot, easy to install
- Metal – Stronger but can create thermal bridges if not designed properly
- Composite materials – Balance of strength and thermal performance
Avoid cheap imports with poor load ratings. Your storage area is only as strong as its weakest component.
Installation: Getting It Right
Installing loft legs isn't complicated. But attention to detail matters.
Step 1: Locate Your Joists
Before anything else, find your ceiling joists. Loft legs must sit directly on joists. Never on insulation alone.
Use a joist detector or look for nail lines in existing boards. Mark joist positions clearly with tape or chalk.
Step 2: Plan Your Layout
Decide how much boarding you need. Most homeowners create a storage platform rather than boarding the entire loft.
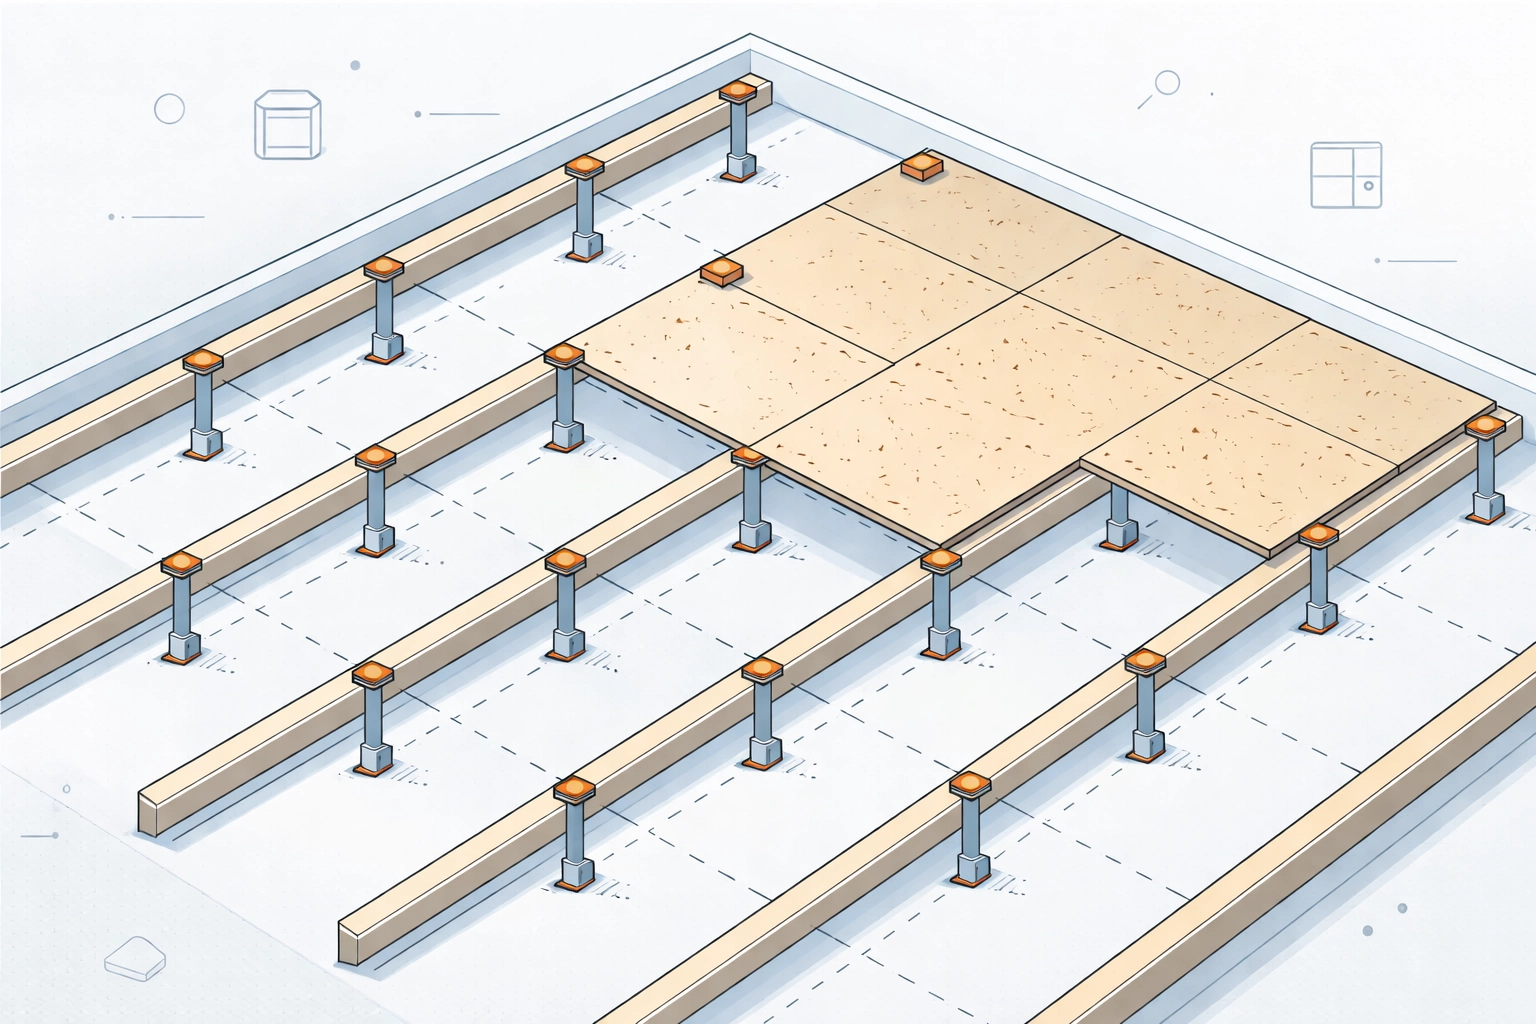
A 2.4m x 2.4m area gives plenty of storage for most families. This requires around 16-20 loft legs depending on spacing.
Step 3: Install the Legs
Place legs along joist lines at 400mm intervals. This matches standard chipboard panel dimensions and provides adequate support.
Screw each leg firmly into the joist. Don't rely on the leg's weight alone.
Step 4: Lay the Boards
Use 18mm chipboard or plywood panels. Thinner boards will flex and feel unstable.
Lay panels across the legs, ensuring joints meet over a leg for proper support. Screw boards into the leg platforms.
Step 5: Check for Gaps
Walk carefully across your new platform. Listen for creaks or movement. Tighten any loose fixings.
Ensure no boards are touching the insulation below. Even slight compression reduces thermal performance over time.
What About Multifoil Insulation?
If loft legs feel like too much hassle, there's another option.
Multifoil insulation achieves similar thermal performance in a fraction of the thickness. Where mineral wool needs 270mm, multifoil can deliver comparable results in just 50-100mm.
This leaves far more headroom for traditional boarding. You might not need loft legs at all.
Multifoil works by reflecting radiant heat rather than trapping air. It's lightweight, easy to handle, and ideal for lofts where space is tight.
Want to learn more? Check out our guide to multifoil loft insulation for a detailed breakdown.
Common Mistakes to Avoid
We see these errors regularly. Don't make them.
- Boarding directly on insulation – Destroys thermal performance
- Using legs that are too short – Compresses the top layer
- Placing legs between joists – Creates dangerous weak spots
- Overloading the platform – Exceeds safe weight limits
- Blocking ventilation – Causes condensation and mould problems
- Forgetting pipe insulation – Water tanks and pipes in lofts need protection too
Is DIY Installation Right for You?
Loft legs are a popular DIY project. The materials are affordable and widely available.
However, professional installation ensures:
- Correct joist identification
- Proper load calculations
- Building regulation compliance
- Warranty protection
If your loft has unusual features, limited access, or you're unsure about joist condition, professional help is worth the investment.
The Cost Factor
Budget for loft leg installation varies based on platform size.
Expect to pay roughly:
- Loft legs – £2-4 per leg
- 18mm chipboard – £15-25 per sheet
- Fixings and screws – £10-20 total
A typical 2.4m x 2.4m platform costs £100-150 in materials for DIY installation.
Professional installation adds labour costs but guarantees the job is done correctly first time.
Final Thoughts
Yes, you can board over 270mm of insulation. Just not directly.
Loft legs give you the best of both worlds. Full thermal performance below. Practical storage space above.
The key is maintaining that crucial air gap. Compressed insulation is compromised insulation.
Whether you tackle this yourself or bring in professionals, the principle stays the same. Raise your boards, protect your insulation, and enjoy a warm home with room for all those boxes.
Ready to reclaim your loft space the right way? Get a quote from our team today.