TL;DR: Effective loft insulation isn't just about throwing rolls of wool into your attic. Common errors like compressing the material, blocking ventilation, and ignoring electrical cables can lead to structural rot, fire hazards, and higher energy bills. Ensure you hit the 270mm depth requirement and keep your eaves clear to protect your home’s health.
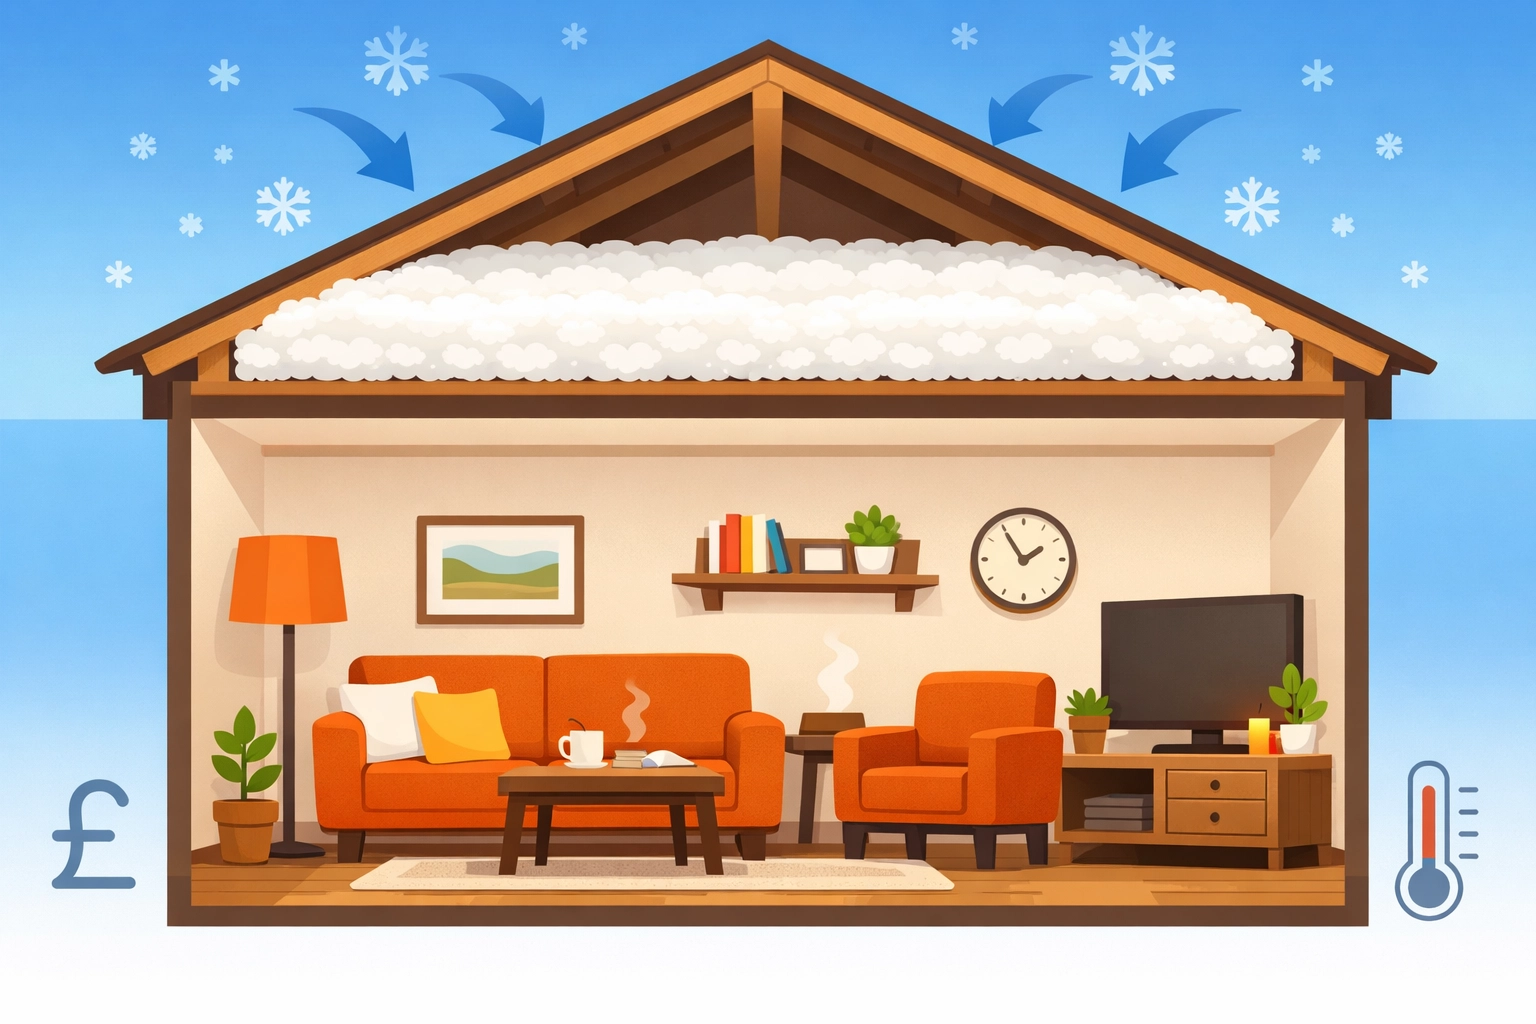
As we head into 2026, the push for energy efficiency has never been higher. With the UK government targeting an EPC 'C' rating for all homes, many homeowners are rushing to upgrade their loft insulation installation.
However, speed often leads to mistakes. A "free" or DIY job can quickly turn into a thousand-pound repair bill if you ignore the science of how your roof breathes.
Here are the seven most common mistakes we see at ComfySeal Ltd and exactly how you can fix them.
Are you using the wrong insulation thickness?
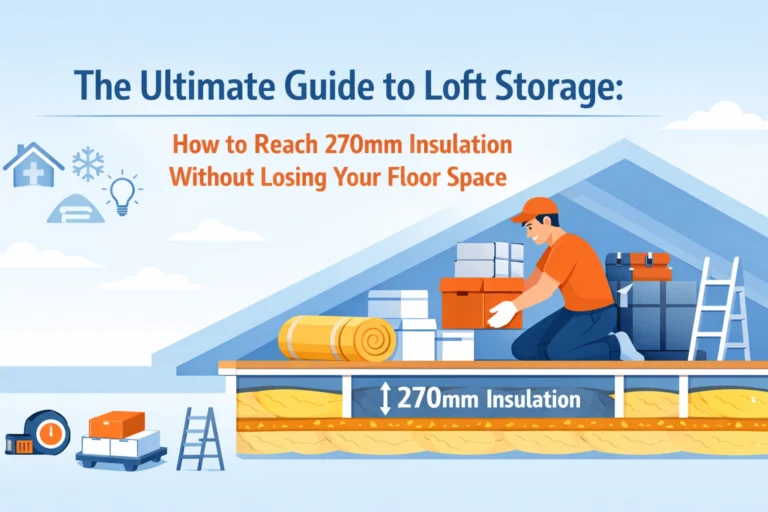
The most frequent mistake is simply not using enough material. Many older homes still have the original 100mm layer installed decades ago. This is no longer enough to stop heat loss through the roof.
Current UK building standards recommend a total depth of 270mm for mineral wool. If you only have 100mm, you are essentially throwing money out of your roof every winter.
The Fix:
Install your insulation in two distinct layers. Place the first 100mm layer between the joists. Then, lay a second 170mm layer at a 90-degree angle across the joists. This "cross-layering" covers the timber joists and prevents "thermal bridging," where heat escapes through the wood itself.

Is squashing your insulation costing you money?
Your loft is likely a prime spot for Christmas decorations and old suitcases. Most people lay chipboard directly onto the joists, squashing the insulation flat to create a floor.
This is a massive mistake. Loft insulation works by trapping air between its fibres. When you compress it, you squeeze that air out. This can reduce the effectiveness of your insulation by up to 50%.
The Fix:
If you need storage space, do not board directly onto the joists. Use "Loft Legs" or a raised platform system. These plastic stilts sit on your joists and support a floor above the full 270mm depth of insulation. This keeps the material fluffy and efficient while giving you a sturdy floor.
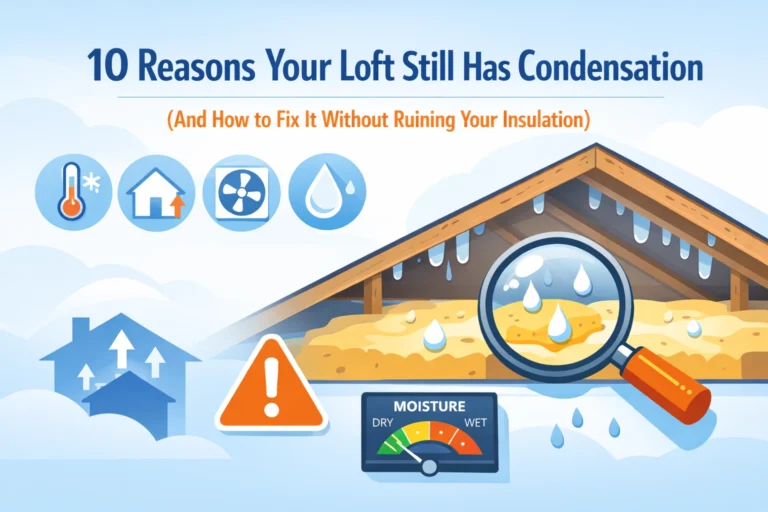
Why is blocking your eaves a dangerous move?
In a quest to stay warm, many homeowners push insulation deep into the corners of the roof where the rafters meet the floor. This is a recipe for disaster.
Your roof needs a constant flow of fresh air to prevent moisture buildup. If you block the gaps at the eaves (the edges), you stop this airflow. This leads to loft condensation solutions becoming a necessity rather than an option. Trapped moisture causes timber rot and black mould.
The Fix:
Always leave a 50mm gap between the insulation and the roof felt at the eaves. Use "eave vents" or "vent baffles." These plastic trays ensure that air can enter from the outside, travel over your insulation, and exit through the ridge vents.
Have you left "hidden" gaps in your coverage?
Think of insulation like a thermal flask. If you leave the lid slightly unscrewed, the liquid inside cools down fast. Insulation is the same. Small gaps around hatches, pipes, or corners allow warm air to bypass the insulation entirely.
This is known as the "chimney effect." Warm air is sucked through these gaps into the cold loft, wasting your heating budget instantly.
The Fix:
Be meticulous. Cut your batts to fit snugly around every obstacle. Don't forget the loft hatch itself, it should be insulated on the back and fitted with draught strips around the edges.
Are your electrical cables a fire hazard?
When you add 270mm loft insulation, you are creating a thick thermal blanket. If your electrical cables are buried under this blanket, they cannot dissipate heat.
This can lead to the cables overheating, melting the insulation, and potentially starting a fire. This is especially dangerous for high-draw circuits like electric showers.
The Fix:
Never bury cables. Gently lift them so they sit loosely on top of the insulation. If a cable isn't long enough to be moved, it should be housed in a protective conduit or evaluated by a professional electrician. Similarly, ensure any recessed downlights have "fire hoods" or "loft caps" over them to prevent the insulation from touching hot bulbs.
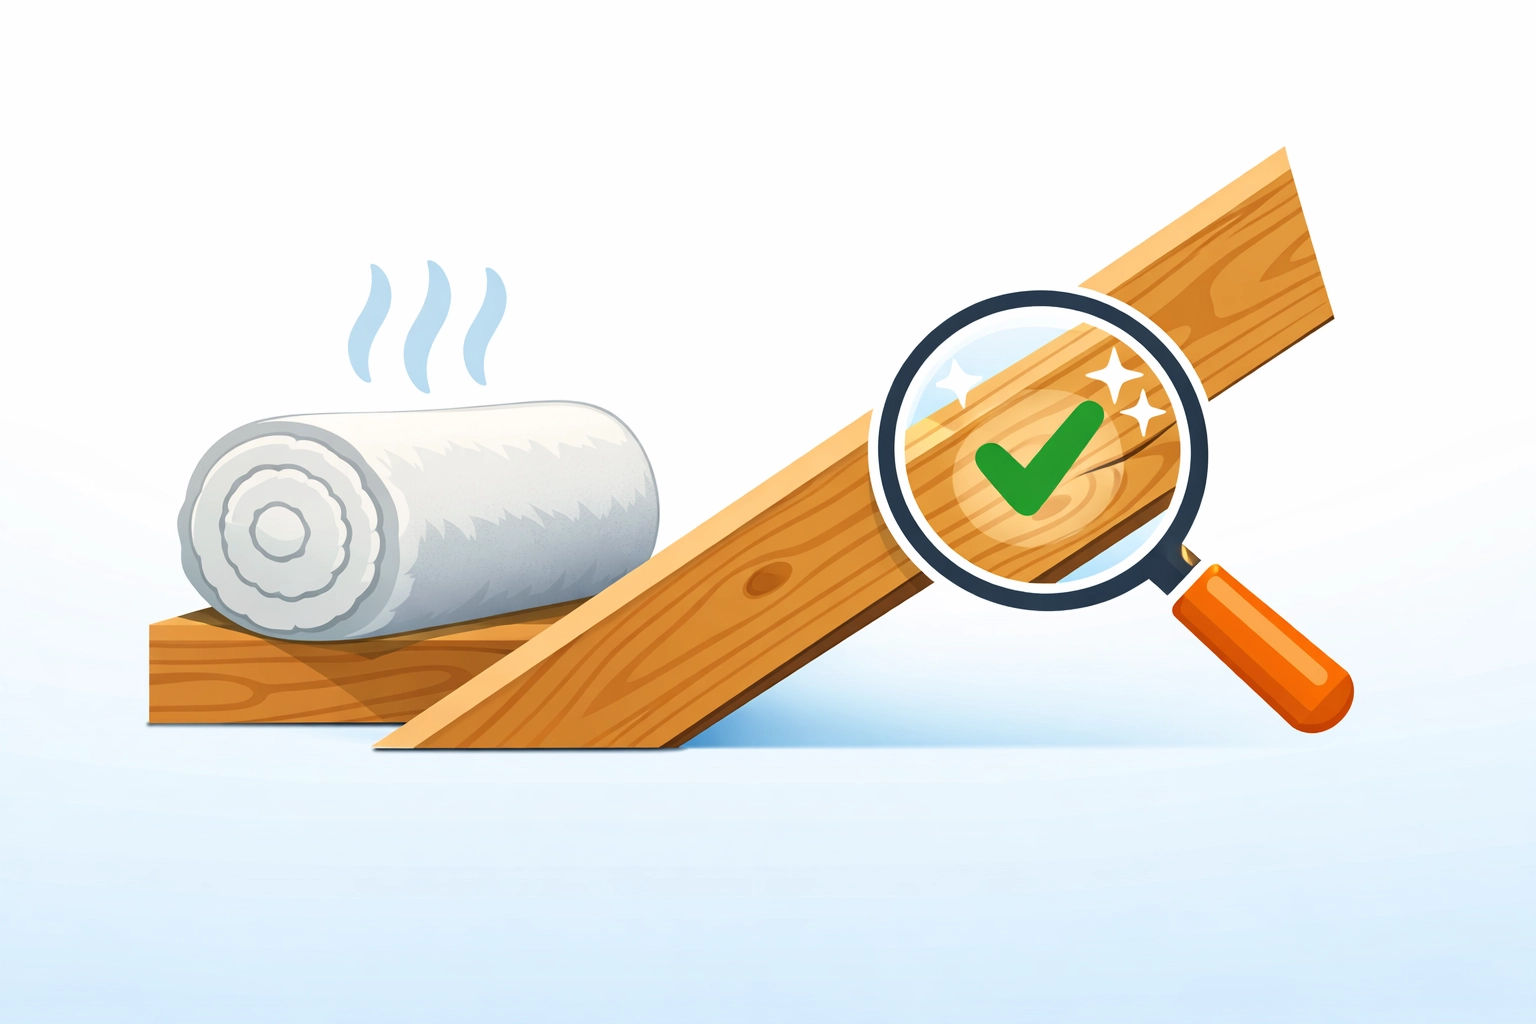
Are you using the "wrong" type of insulation?
Not all insulation is created equal. While spray foam was popular for a few years, it has become a major headache for UK homeowners. Many mortgage lenders now refuse to lend on properties with spray foam insulation because it hides the condition of the roof timbers.
Using the wrong material for your specific roof type can trap moisture against the wood, leading to "wet rot" that remains invisible until the roof structure fails.
The Fix:
For most UK lofts, mineral wool or sheep's wool is the safest and most effective choice. They are breathable and easy to inspect. If you are considering a "warm roof" (insulating the rafters instead of the floor), stick to PIR rigid foam boards with integrated vapour barriers. Check our guide on Busting Myths / Expert Advice for more details.
Did you ignore the condition of your loft first?
The biggest mistake you can make is insulating a loft that already has problems. If you have a leaky tile, a pest infestation, or existing damp, laying insulation on top will only make it worse. It traps the problem and allows it to fester in the dark.
The Fix:
Before you start, do a "white light" test. Turn off the lights in the loft during a sunny day and look for pinpricks of light, these are your leaks. Check for "frass" (insect waste) or damp patches on the joists. Fix these issues before the insulation goes down.
Need a professional eye? Book Your Free Consultation with our team to ensure your loft is healthy before you insulate.
Quick Comparison: The Right vs. Wrong Way
| Feature | The Mistake (Avoid This) | The Solution (Do This) |
|---|---|---|
| Depth | 100mm or less | 270mm (Cross-layered) |
| Storage | Boards directly on joists | Raised Loft Legs |
| Ventilation | Pushing insulation into eaves | 50mm air gap with baffles |
| Cables | Buried under insulation | Clipped on top of insulation |
| Pipes | Left exposed to the cold | Lagged with foam sleeves |
| Gaps | Left around the loft hatch | Hatch insulated and sealed |
Common Questions About Loft Insulation
Can I do my own loft insulation installation?
Yes, if you are fit and comfortable in small spaces. However, most DIYers miss the ventilation and cabling safety steps. If you want it done to 2026 energy standards, hiring professional loft insulation installers is often safer.
Why is my loft damp after insulating?
It’s likely because you’ve blocked the airflow at the eaves. By making the house warmer, you’ve made the loft colder. Any moisture escaping from your bathroom or kitchen will hit that cold roof and turn into water. You need better ventilation.
How much will I save on my energy bills?
For an average detached home, proper insulation can save upwards of £300–£400 per year. With energy prices in 2026, the "payback period" is often less than three years.
Final Thoughts
Insulating your loft is one of the smartest moves you can make for your home's value and your comfort. But "doing it" and "doing it right" are two very different things.
Don't let a simple home improvement project turn into a structural nightmare. By avoiding these seven mistakes, you'll ensure your home stays warm, dry, and safe for years to come.
Ready to get it done properly? Get A Quote today and let the experts at ComfySeal Ltd handle the hard work for you.