
You open your loft hatch and a gust of damp, metallic-smelling air hits you.
You look up. The underside of your roof is glistening with water droplets.
Your insulation feels damp to the touch.
This is loft condensation. It is the silent killer of British roof timbers.
If left alone, it leads to black mould, rotting beams, and ruined ceilings.
The irony? Many homeowners cause this problem while trying to make their homes warmer.
Here are the 10 reasons your loft is still wet and how to fix it properly.
1. The Eaves Blockage
This is the most common mistake we see.
Homeowners or inexperienced installers push mineral wool right into the corners of the roof.
They think they are stopping draughts. In reality, they are suffocating the house.
Your loft needs a constant flow of air from the outside.
This air usually enters through the "eaves": the edges where the roof meets the walls.
If you block this gap, the air stays still. Damp air settles and turns into water.
The Fix: Pull your insulation back at least 50mm from the roof edges.
Use "eave trays" to keep the gap open permanently.
2. The 'Compression Trap'
Insulation works by trapping air between its fibres.
When you squash it, you push that air out.
Many people store heavy boxes directly on top of their 270mm thick insulation.
This creates a cold spot on your ceiling.
Warm air from the rooms below hits this cold spot and condenses instantly.
Compressed insulation is also less breathable, trapping moisture within the material itself.

The Fix: Never squash your insulation.
If you need storage, use loft legs to raise a floor above the insulation level.
You can find more tips on this in our Practical Loft Solutions & Maintenance section.
3. The Leaky Loft Hatch
Your loft hatch is often the biggest "hole" in your home's thermal envelope.
Most hatches are just a thin piece of plywood.
Warm, moist air from your bathroom or kitchen rises naturally.
It finds the gaps around the hatch and pours into the cold loft.
This is called "air leakage." It brings gallons of water vapour into your roof space every year.
The Fix: Install a draught-proof seal around the hatch frame.
Attach a thick block of rigid foam insulation to the top of the hatch itself.
Ensure the hatch sits heavy and tight against the seals.
4. Unsealed 'Thermal Bypasses'
Light switches, pull cords, and recessed spotlights are hidden culprits.
Every hole cut into your ceiling for a wire or a pipe is a chimney for moisture.
Standard downlights are particularly bad.
They act like small heaters that pump moist air directly into the loft.
If you see dark "soot" marks around your lights, air is leaking through.
The Fix: Use fire-rated loft covers over downlights.
Seal pipe entries with expanding foam or silicone.
Small gaps lead to big moisture problems.
5. Blocked or Missing Roof Vents
Air needs to get in, but it also needs to get out.
Many older roofs rely on natural gaps between tiles.
Modern roofing felt is often "non-breathable."
If your roof has been felted and battened without adding vents, you have a sealed box.
Moisture has nowhere to go.
Check your soffit vents to ensure they aren't painted shut or blocked by bird nests.

The Fix: Install "lap vents" between the felt or tile vents on the roof surface.
This encourages a "cross-flow" of air.
Air enters at the bottom and leaves through the top.
6. Overstuffed Storage
We all use the loft for storage.
However, packing the loft to the rafters prevents air circulation.
If you have stacks of suitcases and cardboard boxes, you create "dead air" zones.
Moisture gets trapped behind these items.
You might find mould growing on your Christmas decorations before you find it on the wood.
The Fix: Leave a gap between your storage items and the roof slope.
Don't push boxes right up against the felt.
Keep the centre of the loft clear to allow air to move freely.
7. Household Moisture Sources
Sometimes the problem isn't the loft. It’s the lifestyle below it.
Drying clothes on radiators is a primary cause of high humidity.
Cooking without lids and long, hot showers add to the load.
A family of four can produce 12 litres of water vapour a day.
That water has to go somewhere. If your house isn't ventilated, it goes to the loft.
The Fix: Always use extractor fans in kitchens and bathrooms.
Keep window vents (trickle vents) open.
Consider a Health, Air Quality & Safety assessment if damp persists.
8. The "Airtight Home" Paradox
Have you recently installed new double glazing or cavity wall insulation?
You have made your home more airtight.
This is great for your energy bills but bad for moisture.
Older, "draughty" houses naturally vented moisture through gaps in windows and doors.
Now, that moisture is trapped. It rises to the highest point: the loft.

The Fix: You must balance "tight" construction with "right" ventilation.
Check that your loft ventilation was upgraded when your windows were.
If you aren't sure, Book Your Free Consultation for a professional look.
9. Exposed Pipes and Water Tanks
If you have an old-fashioned header tank in the loft, it might be the source.
If it doesn't have a lid, it is constantly evaporating water into the air.
Hot water pipes that aren't insulated also contribute.
They heat the air locally, allowing it to hold more moisture.
When that air moves away from the pipe and hits a cold roof, it drops the water.
The Fix: Ensure every tank has a tight-fitting lid.
Lag all pipes with foam tubes.
Do not insulate under the water tank: let the heat from the house keep it from freezing.
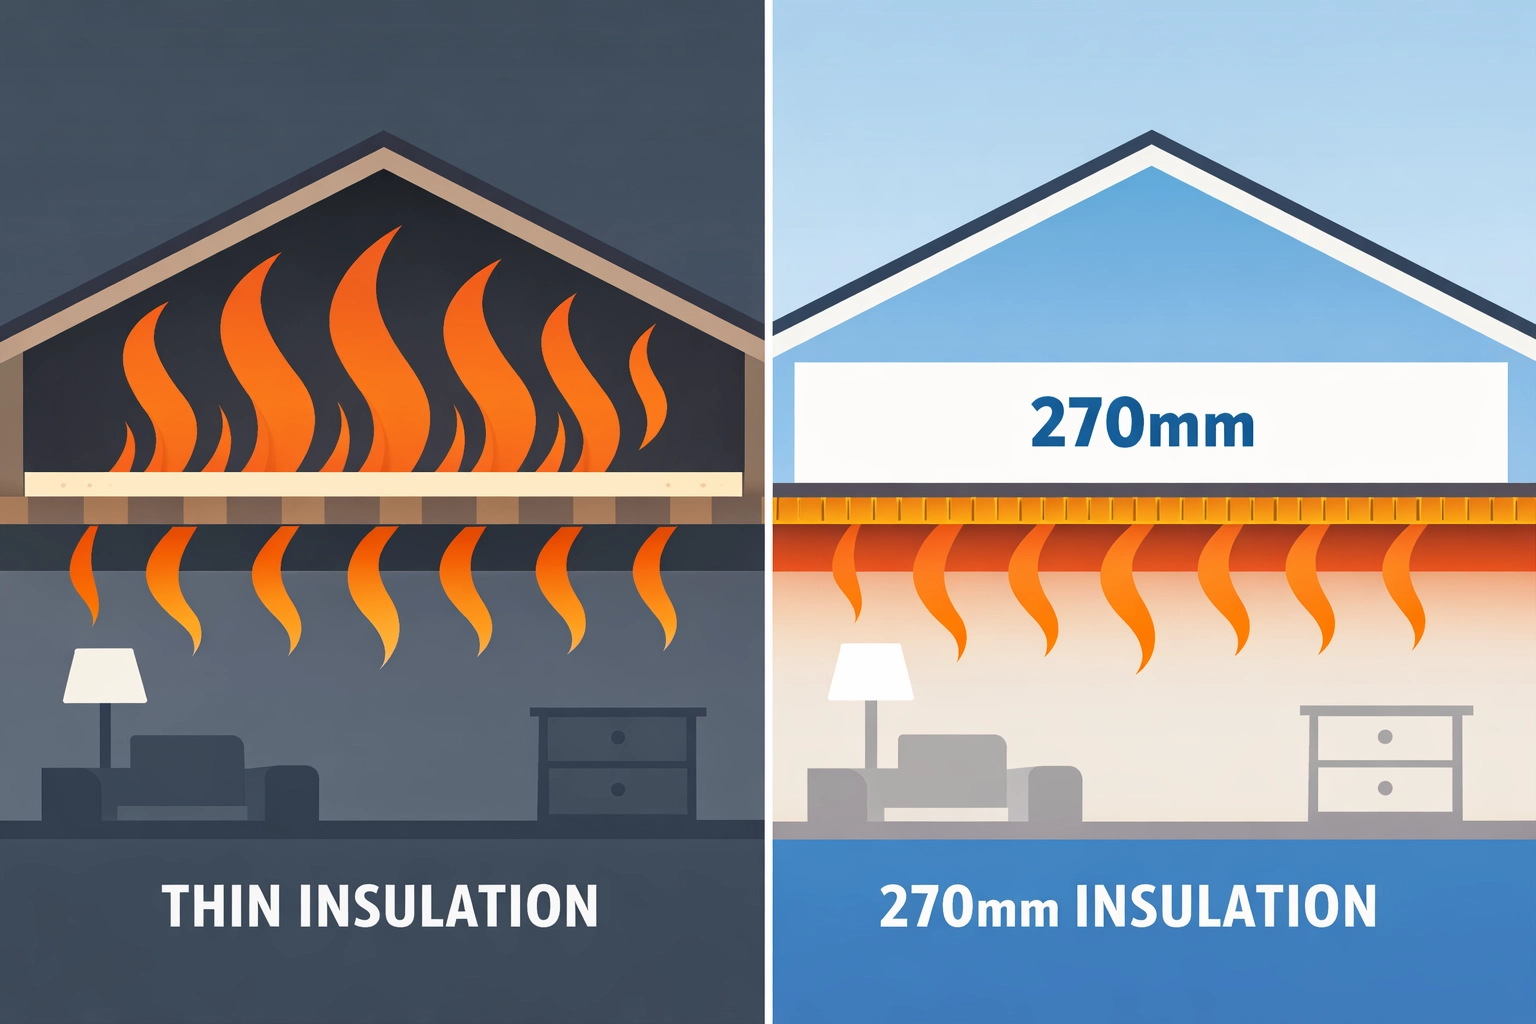
10. Inadequate Insulation Depth
It sounds counter-intuitive.
If you have thin insulation (less than 100mm), your loft stays relatively warm.
The heat escaping from your house keeps the roof timbers above the "dew point."
When you upgrade to the recommended 270mm, your loft becomes much colder.
This cold air cannot hold as much moisture.
Suddenly, the same amount of moisture that was "fine" before starts turning into water.
The Fix: When you increase insulation, you must increase ventilation.
They go hand-in-hand.
Meeting UK Loft Insulation Regulations means doing both correctly.
The "Golden Rule" of Loft Health
The secret to a dry loft is simple.
Keep the heat in the house and the moisture out of the loft.
You do this by sealing the "floor" of the loft (the ceiling) and venting the "roof" of the loft.
Many people do the opposite. They leave the ceiling leaky and try to seal the roof.
This is a recipe for disaster.
How to Check Your Loft Today
- The Mirror Test: Take a small mirror into the loft on a cold morning. Hold it near the roof felt. If it fogs up instantly, your humidity is too high.
- The Torch Test: Turn off the lights. Shine a torch along the insulation. Look for the "glint" of water or dark patches of mould.
- The Eaves Check: Can you see daylight at the edges of the loft? If not, your ventilation is likely blocked.
Final Thoughts
Condensation isn't a sign that your insulation has "failed."
It is a sign that your loft's ecosystem is out of balance.
By following these steps, you can keep your home warm without risking the structure of your roof.
Do not ignore dampness. It only gets more expensive to fix over time.
If you are worried about the state of your loft, we can help.
Our team specializes in identifying the root cause of moisture issues.
Get A Quote today to see how we can restore your loft's health.
Stay warm. Stay dry. Protect your home.